Tag Archives: Silhouette Online Store

Happy Birthday! Favors and Scrapbook for a 70th Birthday Party!

This year my Mom celebrated her 70th Birthday! We invited family and friends to share this special day with us. As a veteran party planner, I wanted to create favors and a handmade mini scrapbook to help preserve everyone’s memories of my Mom’s BIG day. Our theme for the day was roses.

IMG_5419
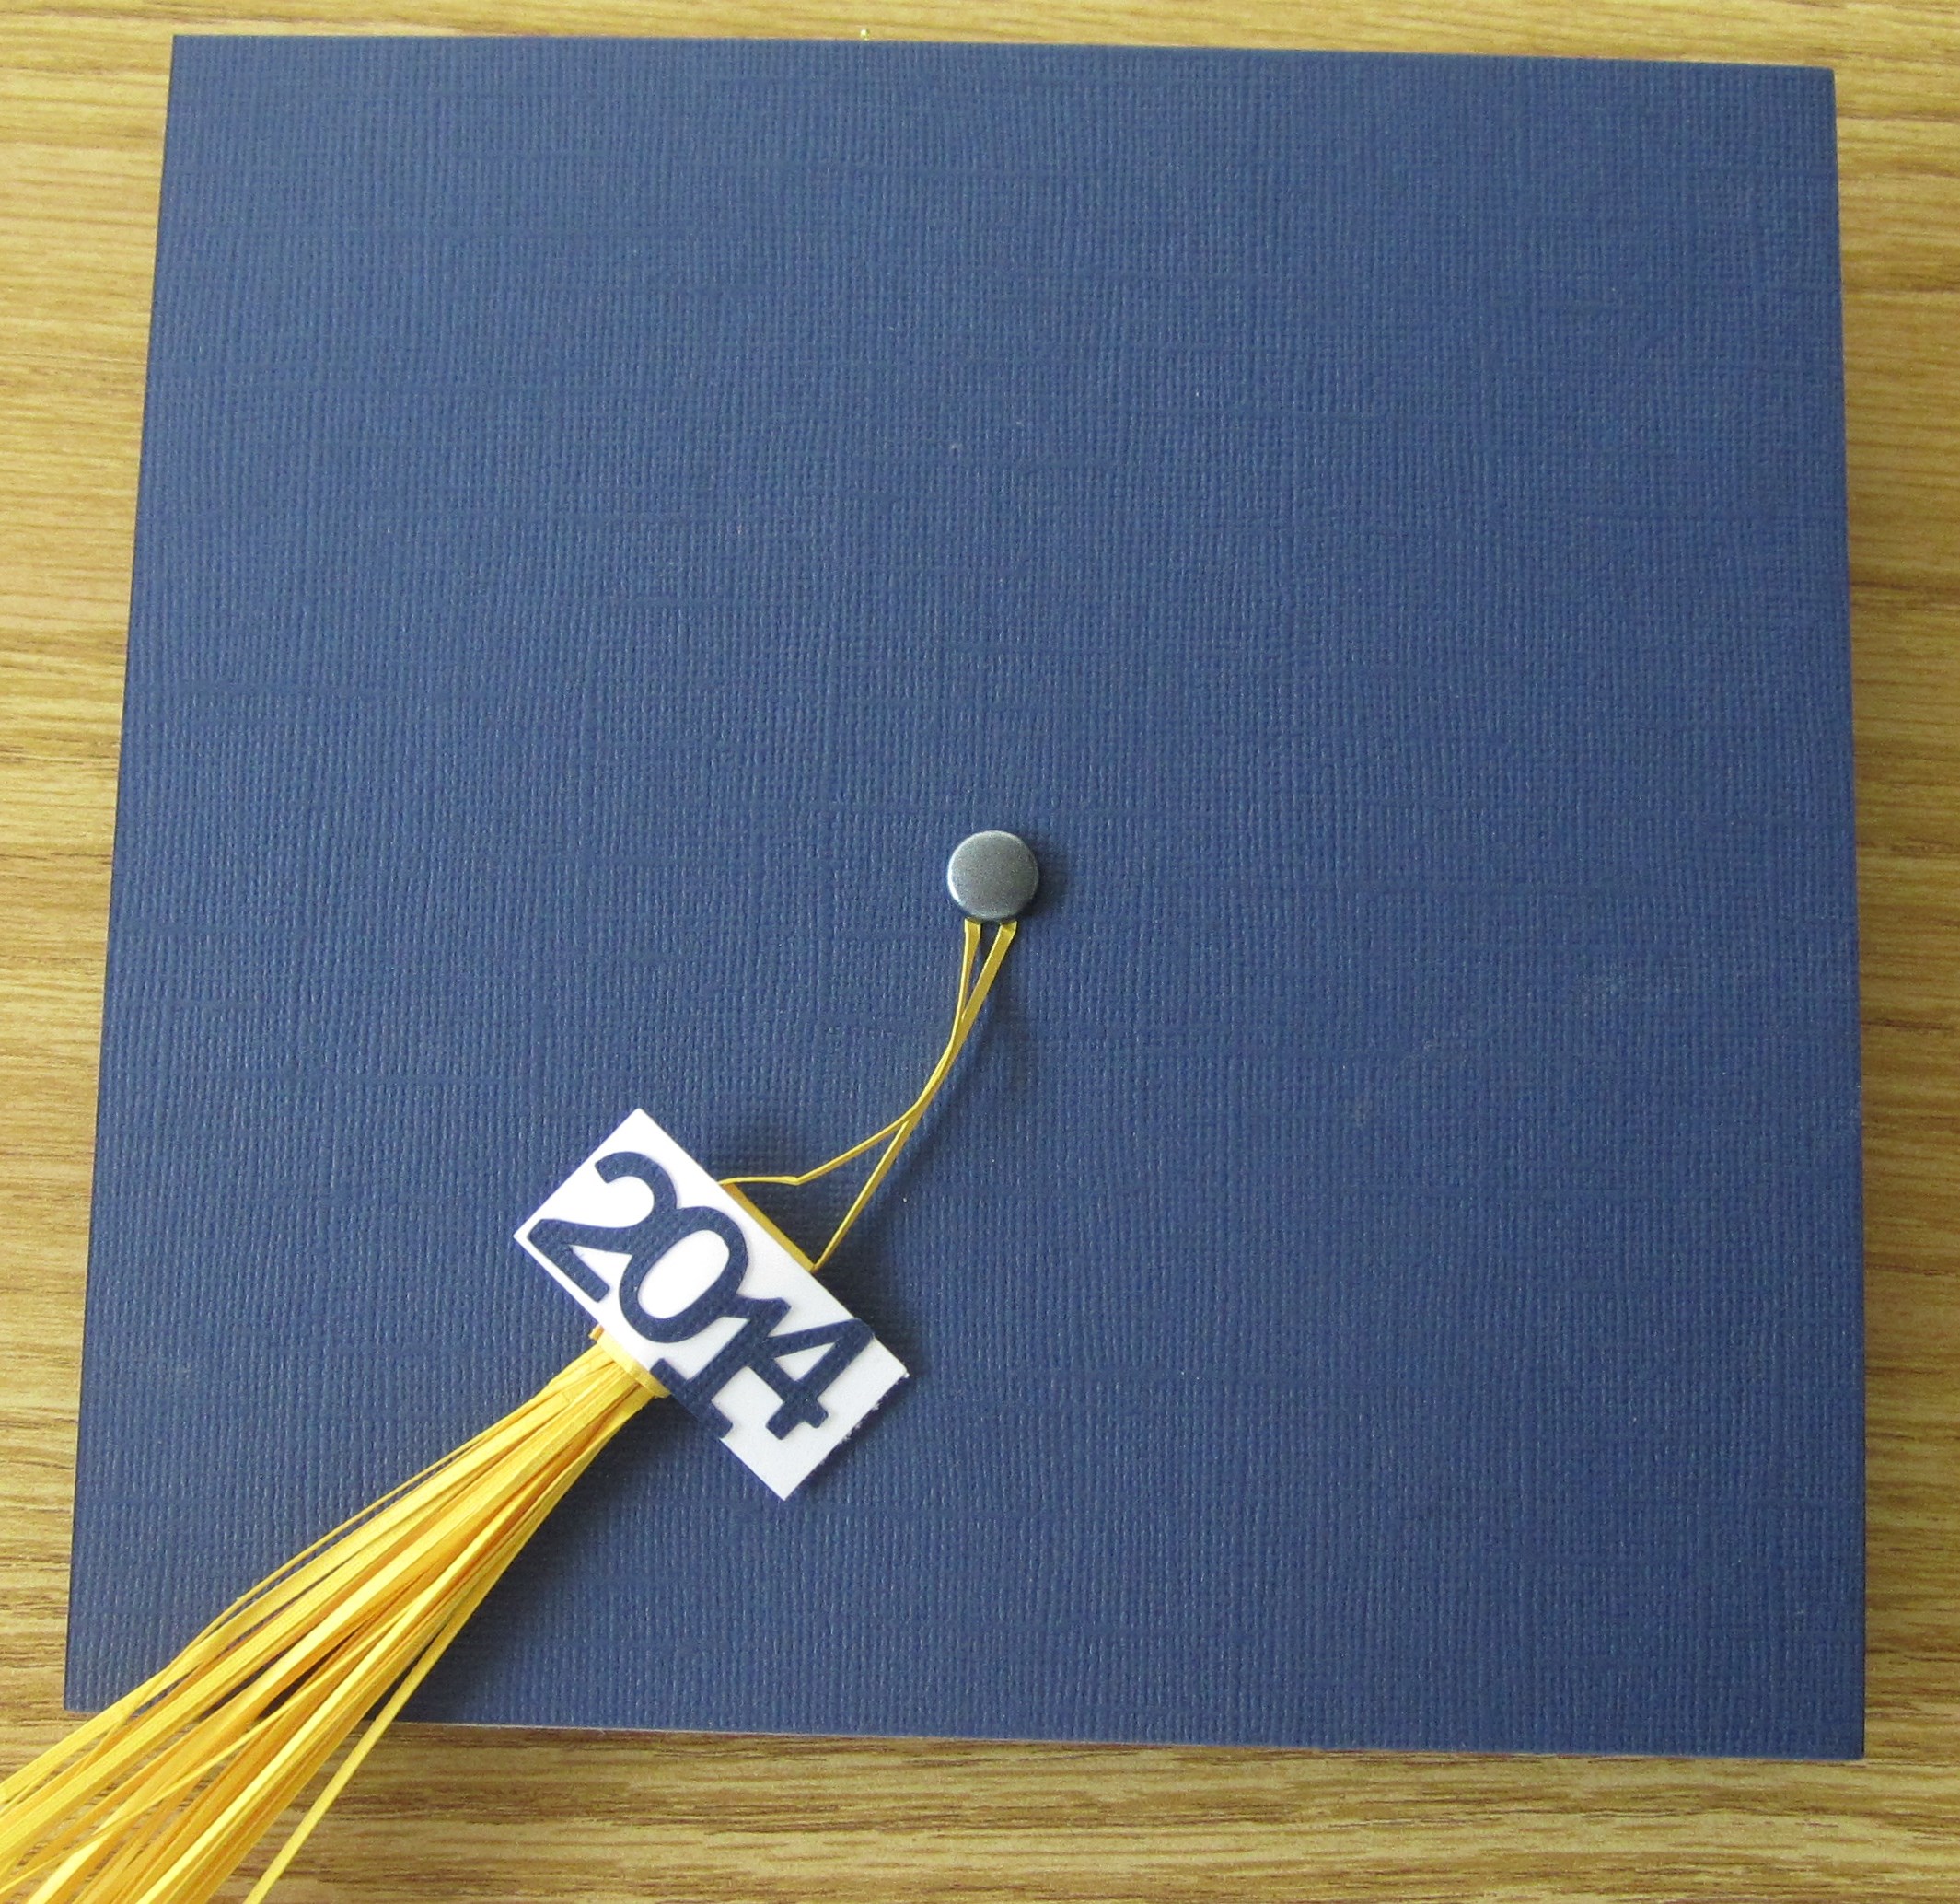
This mini scrapbook 11 inches wide and 9 inches tall. It has an accordion binding. For the scrapbook cover, I used Silhouette Roses, a Graphic 45 vintage newspaper printed paper, a couple interesting fonts and some great Prima Jewels.

IMG_5422 
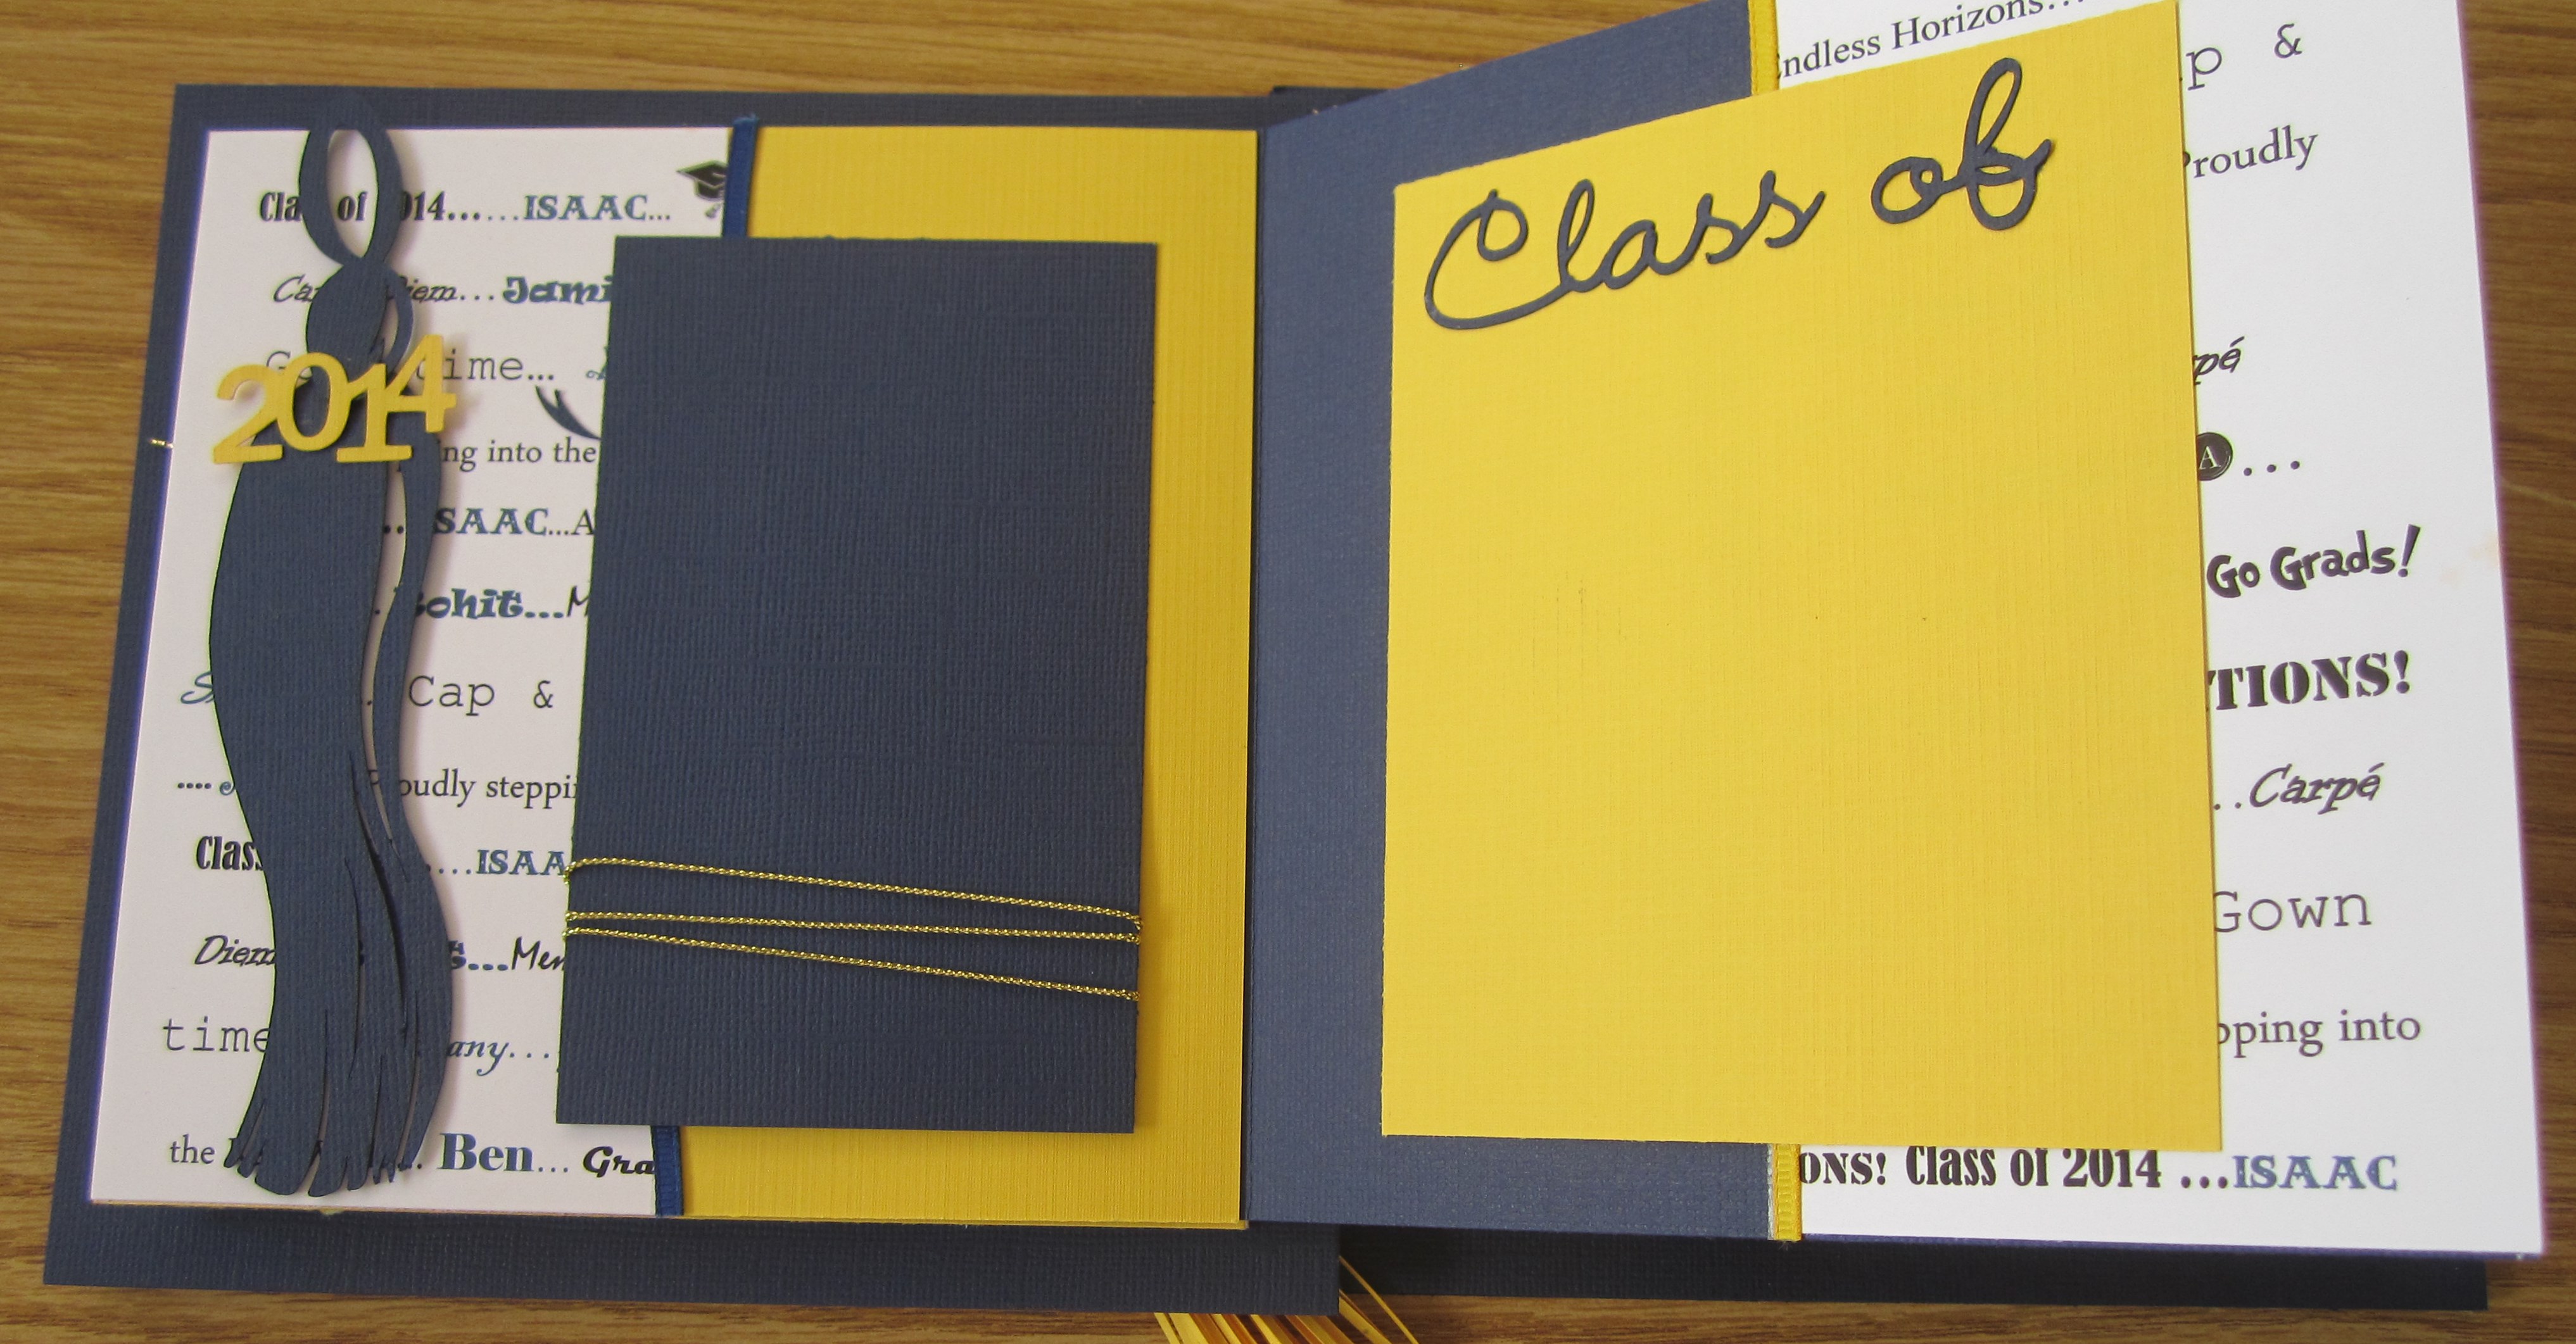
My opening pages include two very important items: a place for a private journaling space for a special birthday message. and a mat for an amazing photograph of my Mom, our “Birthday Girl.”

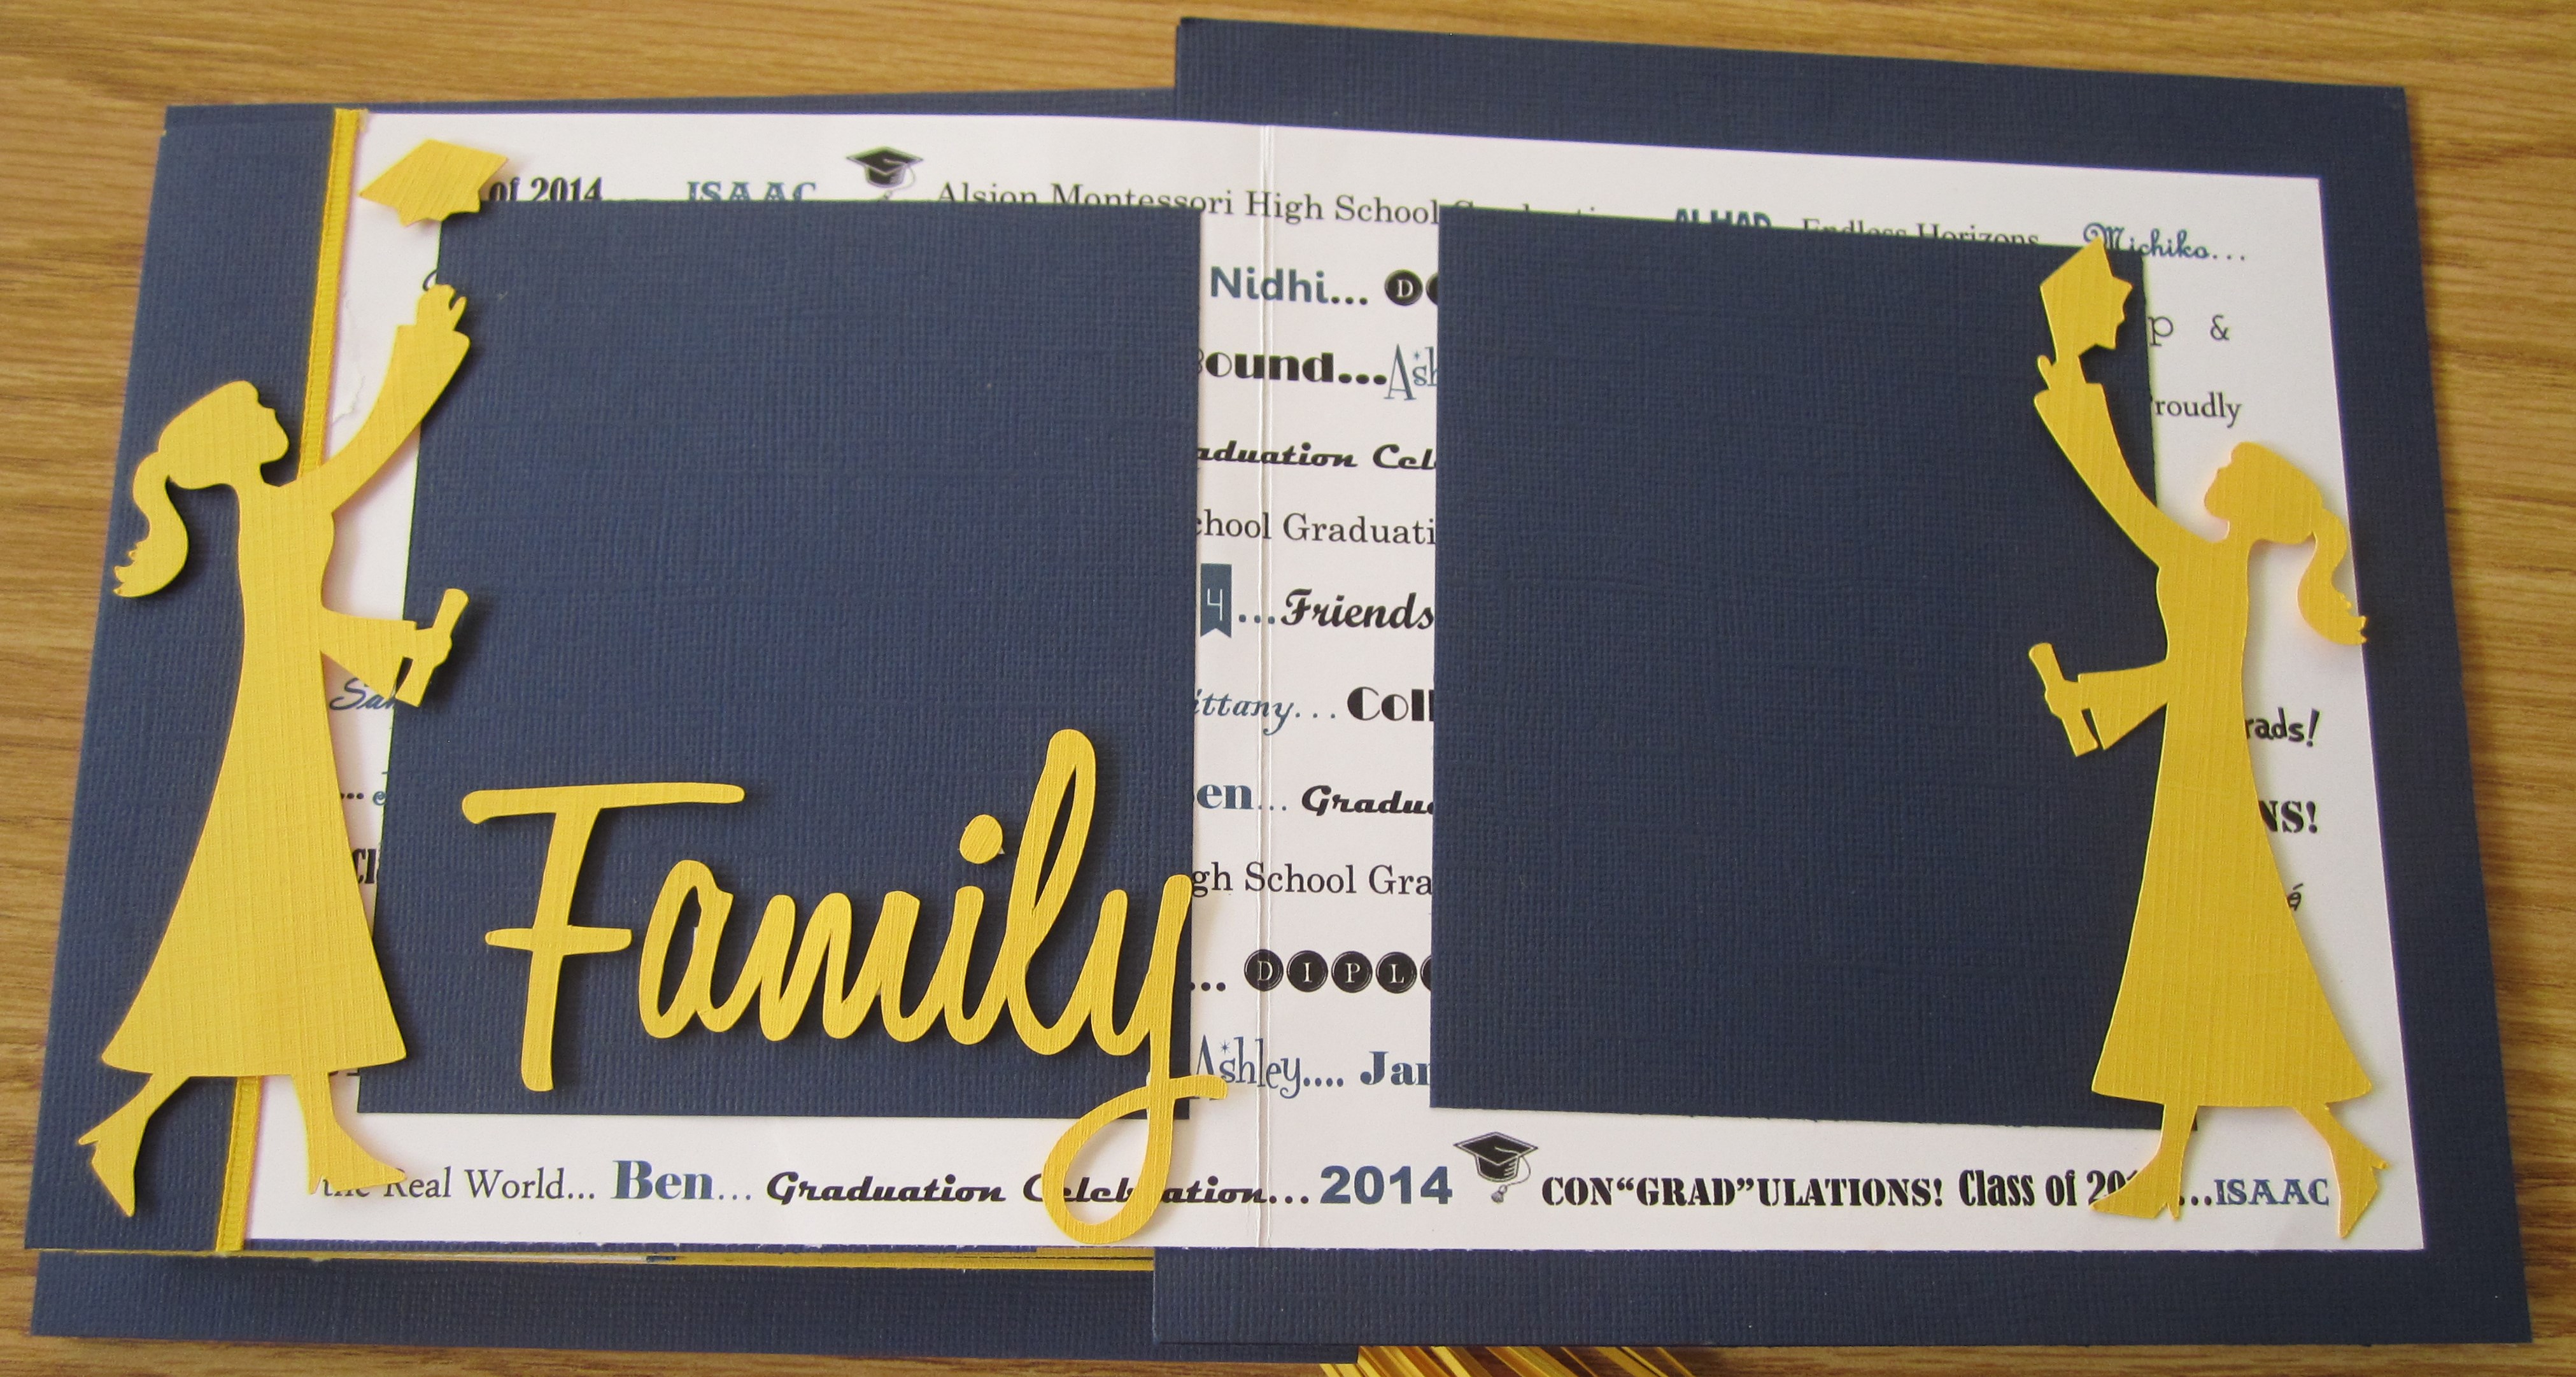
The remaining pages include place for photos of family and friends. During the party, we had guests write a special birthday message to my Mom on the opening pages. I have used the Graphic 45 Garden paper and Prima Jewels to decorate the pages.

IMG_5425

IMG_5427

IMG_5432

IMG_5435

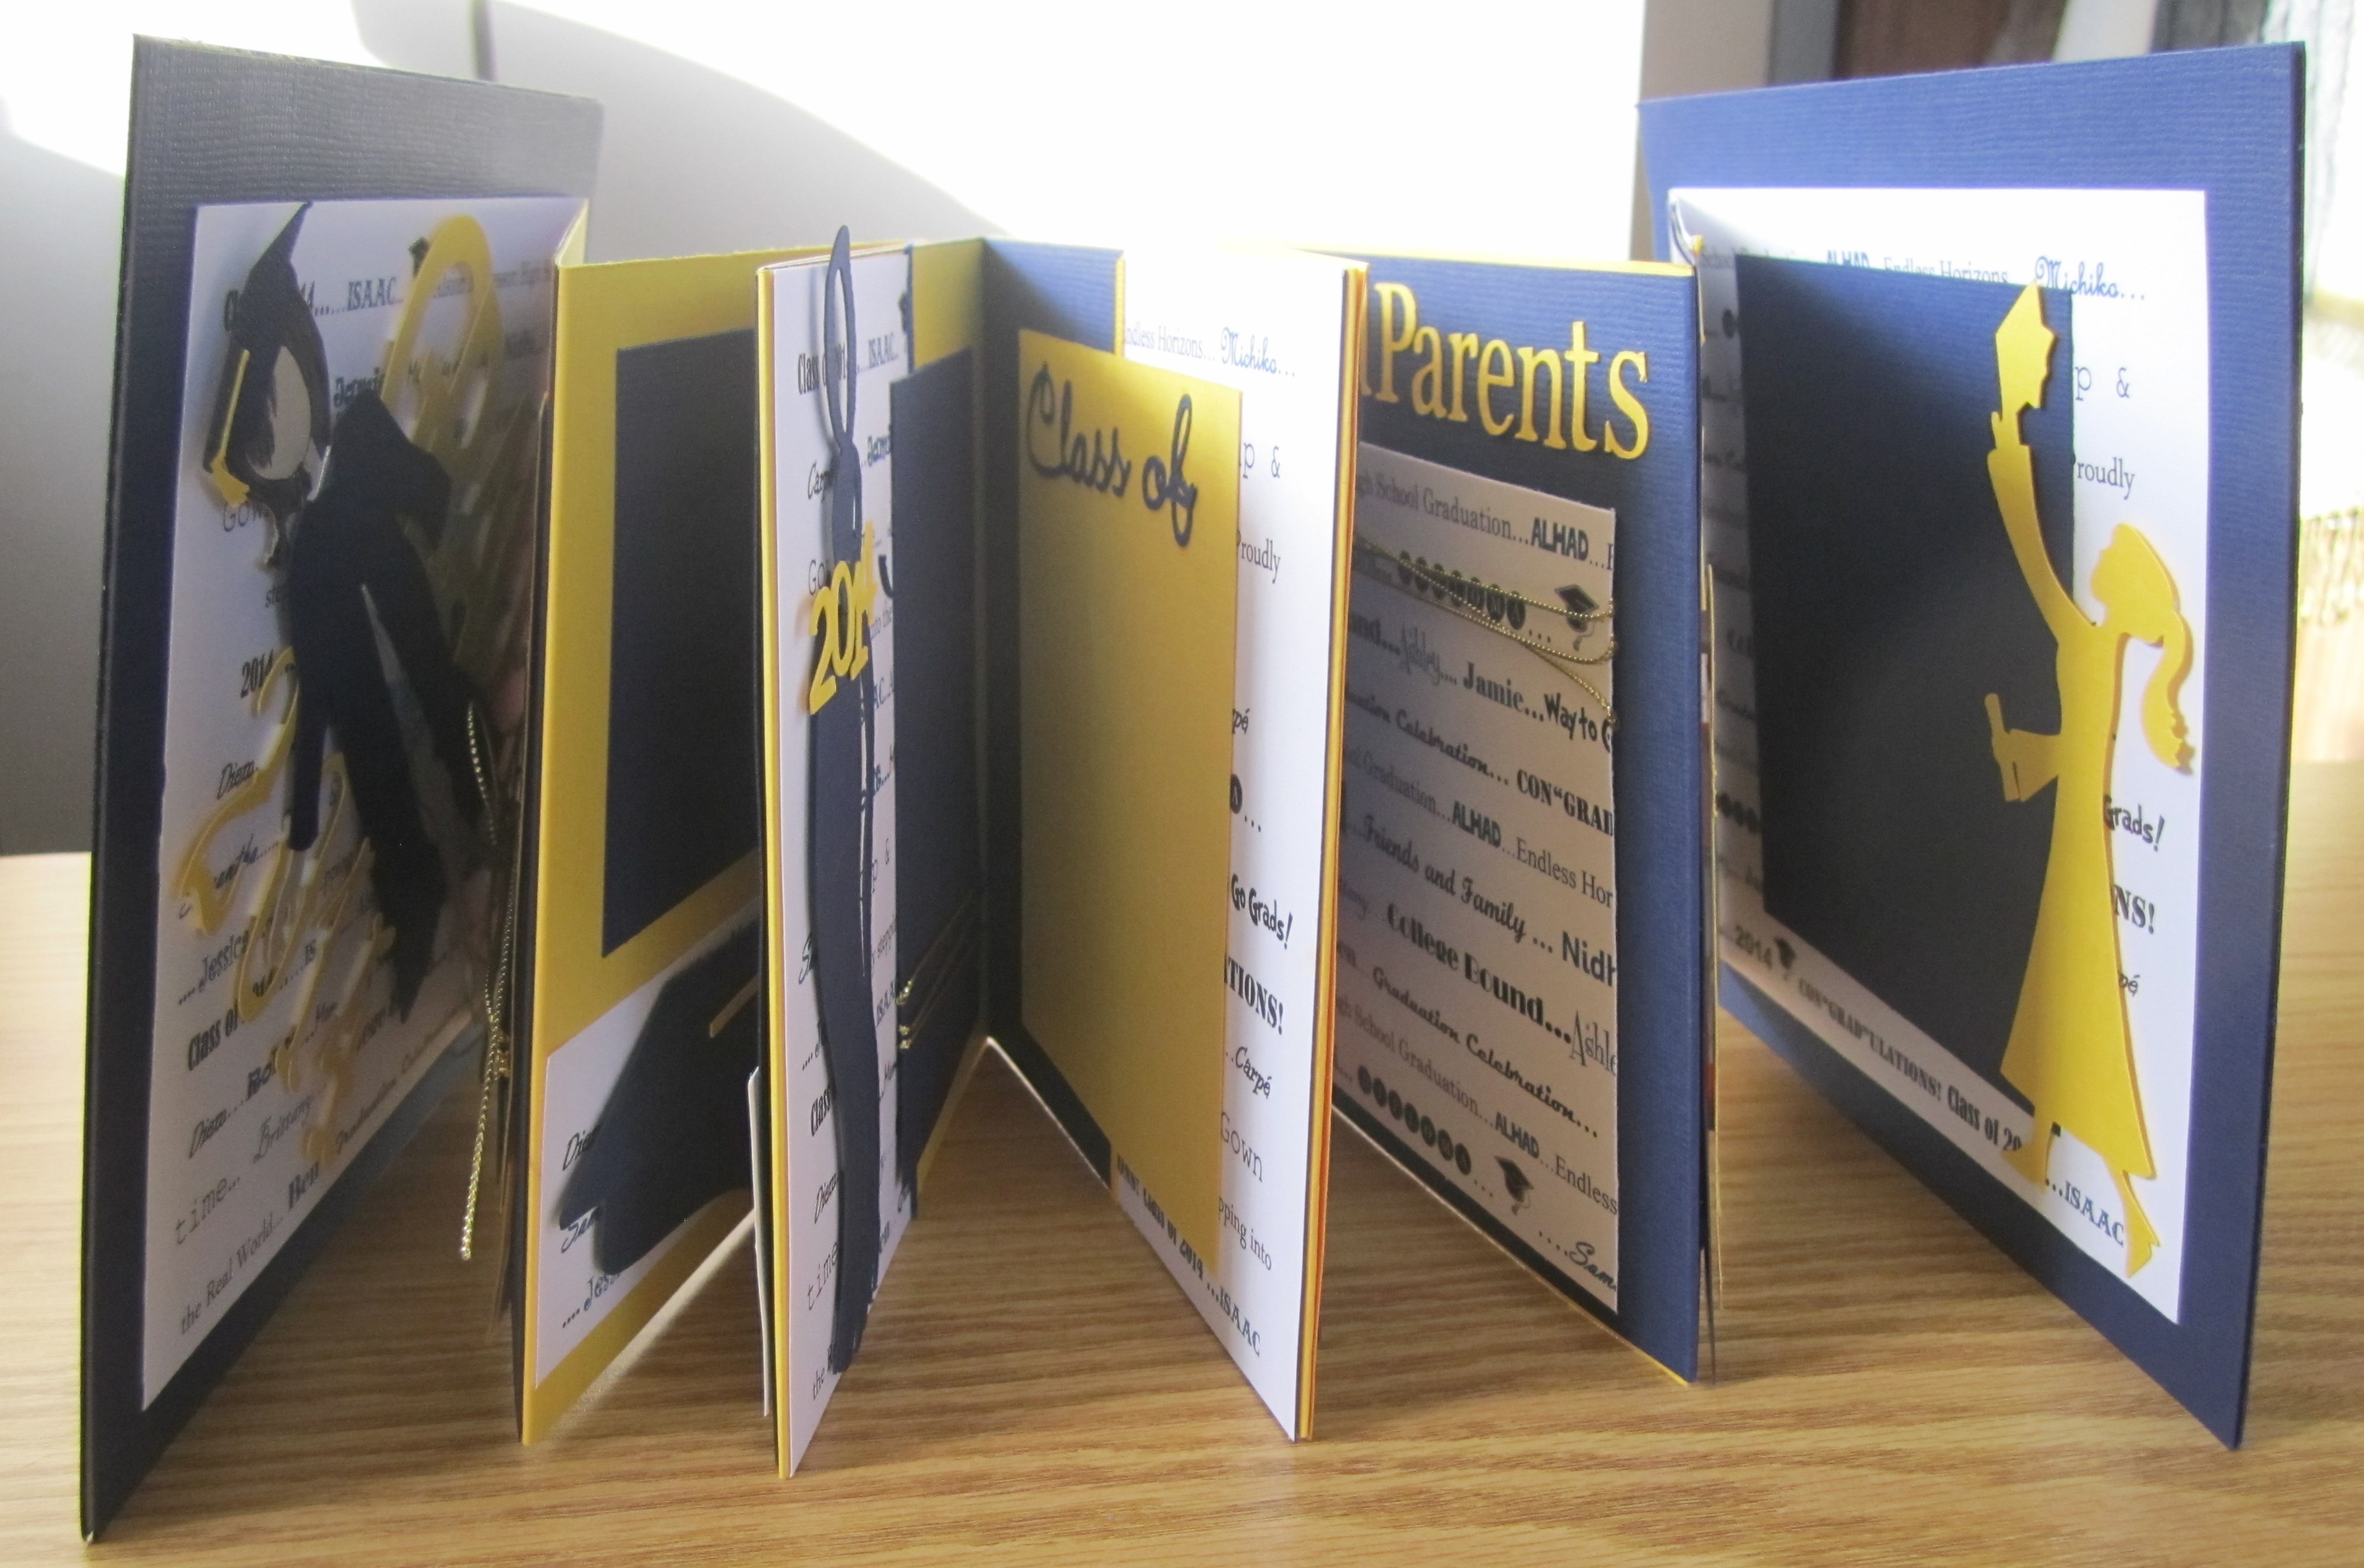
I used accordion binding for the album and then covered the bound end with a piece of cardstock.

For the matching favors I cut them from a 3D Silhouette rose by Jamie Cripps. These roses are easily to cut and create. The lace favor box is by Lori Whitlock.

IMG_5443

IMG_5439

2 Comments

Filed under Mini Albums, Party Favors

Celebrate the Grads in your life with this Quick and Easy Mini Album!

Graduation 9 X 9 Mini Album
Graduation 8 X 8 Mini Album

This little album is really easy to do. Start off with 2 pieces of 9 X 9 chipboard and 8-10 pieces of 8 1/2 X 11 cardstock, score the cardstock into 8 1/2 X 8 1/2 squares. Attached the flap of the cardstock onto the 8 1/2 X 8 1/2 square as seen below to create an accordion album.

attach flaps to 8 1/2 square to create an accordian album

Once you have your base completed, you can work on your covers. Cover one side of two 9 X 9 heavy chipboard squares with cardstock. I like to use cardstock that matches the graduate’s school colors. Then using your Silhouette, cut a tassel in a coordinating color as well as a tag to add the Grad Year. Attach the tassel with a large brad to the center of the cover of your album. Cover one side of the base of album with matching cardstock. Using the same color or a coordinating color of cardstock, cover the other side of the covers.

Inside first page of mini album

Now you can attach you center pages now or complete your album and then attach. I prefer to attach once the album is complete. To make sure that I do not forget and scrap onto the portion of the album I will be attaching to the cover, I draw a big “X” across it.

2014-05-25 020

Next I used Microsoft Word to create the “printed paper” for my album. Using the Graduate’s name, her friend’s names, the School Name, the School Mascot, and Graduation lingo, I created printed paper for the album plus some other gifts I made her.  I stamped a Prima Julia Nutting paper doll and used the Silhouette to create a graduation gown for the doll. 2014-05-25 022

Now I can create pages with my “printed paper” to highlight each signature event and special moment for graduation . With my Silhouette, I cut graduation die cuts for page decoration. Then I cut photo mats and wrapped them with coordinating ribbon or cord. Here are a few more page ideas….

2014-05-25 021

2014-05-25 024

2014-05-25 025

Once my pages are complete I adhere the back of the first page to the center of the back of the chipboard cover and center the back of the last page the the inside of the base cover.

Completed Album

Completed Album

Please feel free to email me with any questions on how to assemble this little album. I would be happy to offer additional assistance where I can.

And congratulations to all of you who are graduating or have graduates in your lives this year! The best of luck to you all!

Happy Scrappin’

Michele

2 Comments

Filed under Mini Albums, Silhouette Projects

Really cute Fall Dolls! with Julia Nutting Paper Dolls and Silhouette Designs

Happy Thanksgiving to all of my scrapbooking friends! Sending a really cute trio of Fall Dolls your way as a Thanksgiving weekend Treat! With a holiday promise that the “Holly-Day Dolls” will be here soon! I have made my Fall dolls with combination of papers from October Afternoon, My Minds Eye, and Simple Stories. The cardstock is from Bazzill and Paper Accents. The dolls themselves are stamped with the Julia Nutting Stamps from Prima and then used a paper doll cut with my Silhouette for the arms. The clothes are also a combo of Silhouette and stamps. You will find all of the other diecuts online in the Silhouette Online Store.

ImageHappy Holidays to one and all!…and Happy Scrappin’

Michele

Leave a comment

Filed under Silhouette Projects