Category Archives: Silhouette Projects

Making Birthday Gifts for Friends….Part One: Personalized Stationary with Matching Gift Card Box

Looking a wonderful birthday gift for a special friend in your life? One of my favorite gifts for a friend’s birthday is personalized stationary in a pretty box. I look for unique boxes for the stationary like Lori Whitlock’s A2 Card and Magazine holder with skeeve. This cute little box and sleeve are perfect for a quick gift. I made this box and cards in a little over four hours using cardstock and scraps of printed paper.

IMG_5584

Start out by creating the magazine holder and sleeve with coordinating cardstock.

IMG_5578IMG_5577IMG_5579

Fold along scores and glue box as well as sleeve together.

IMG_5580Once the box is done it is time to create the matching cards. Try to do four each of three different cards in a box: Birthday, Thank You and Monogrammed Notes. Here are some of the cards that I created for this stationary set.

IMG_5583IMG_5582IMG_5581

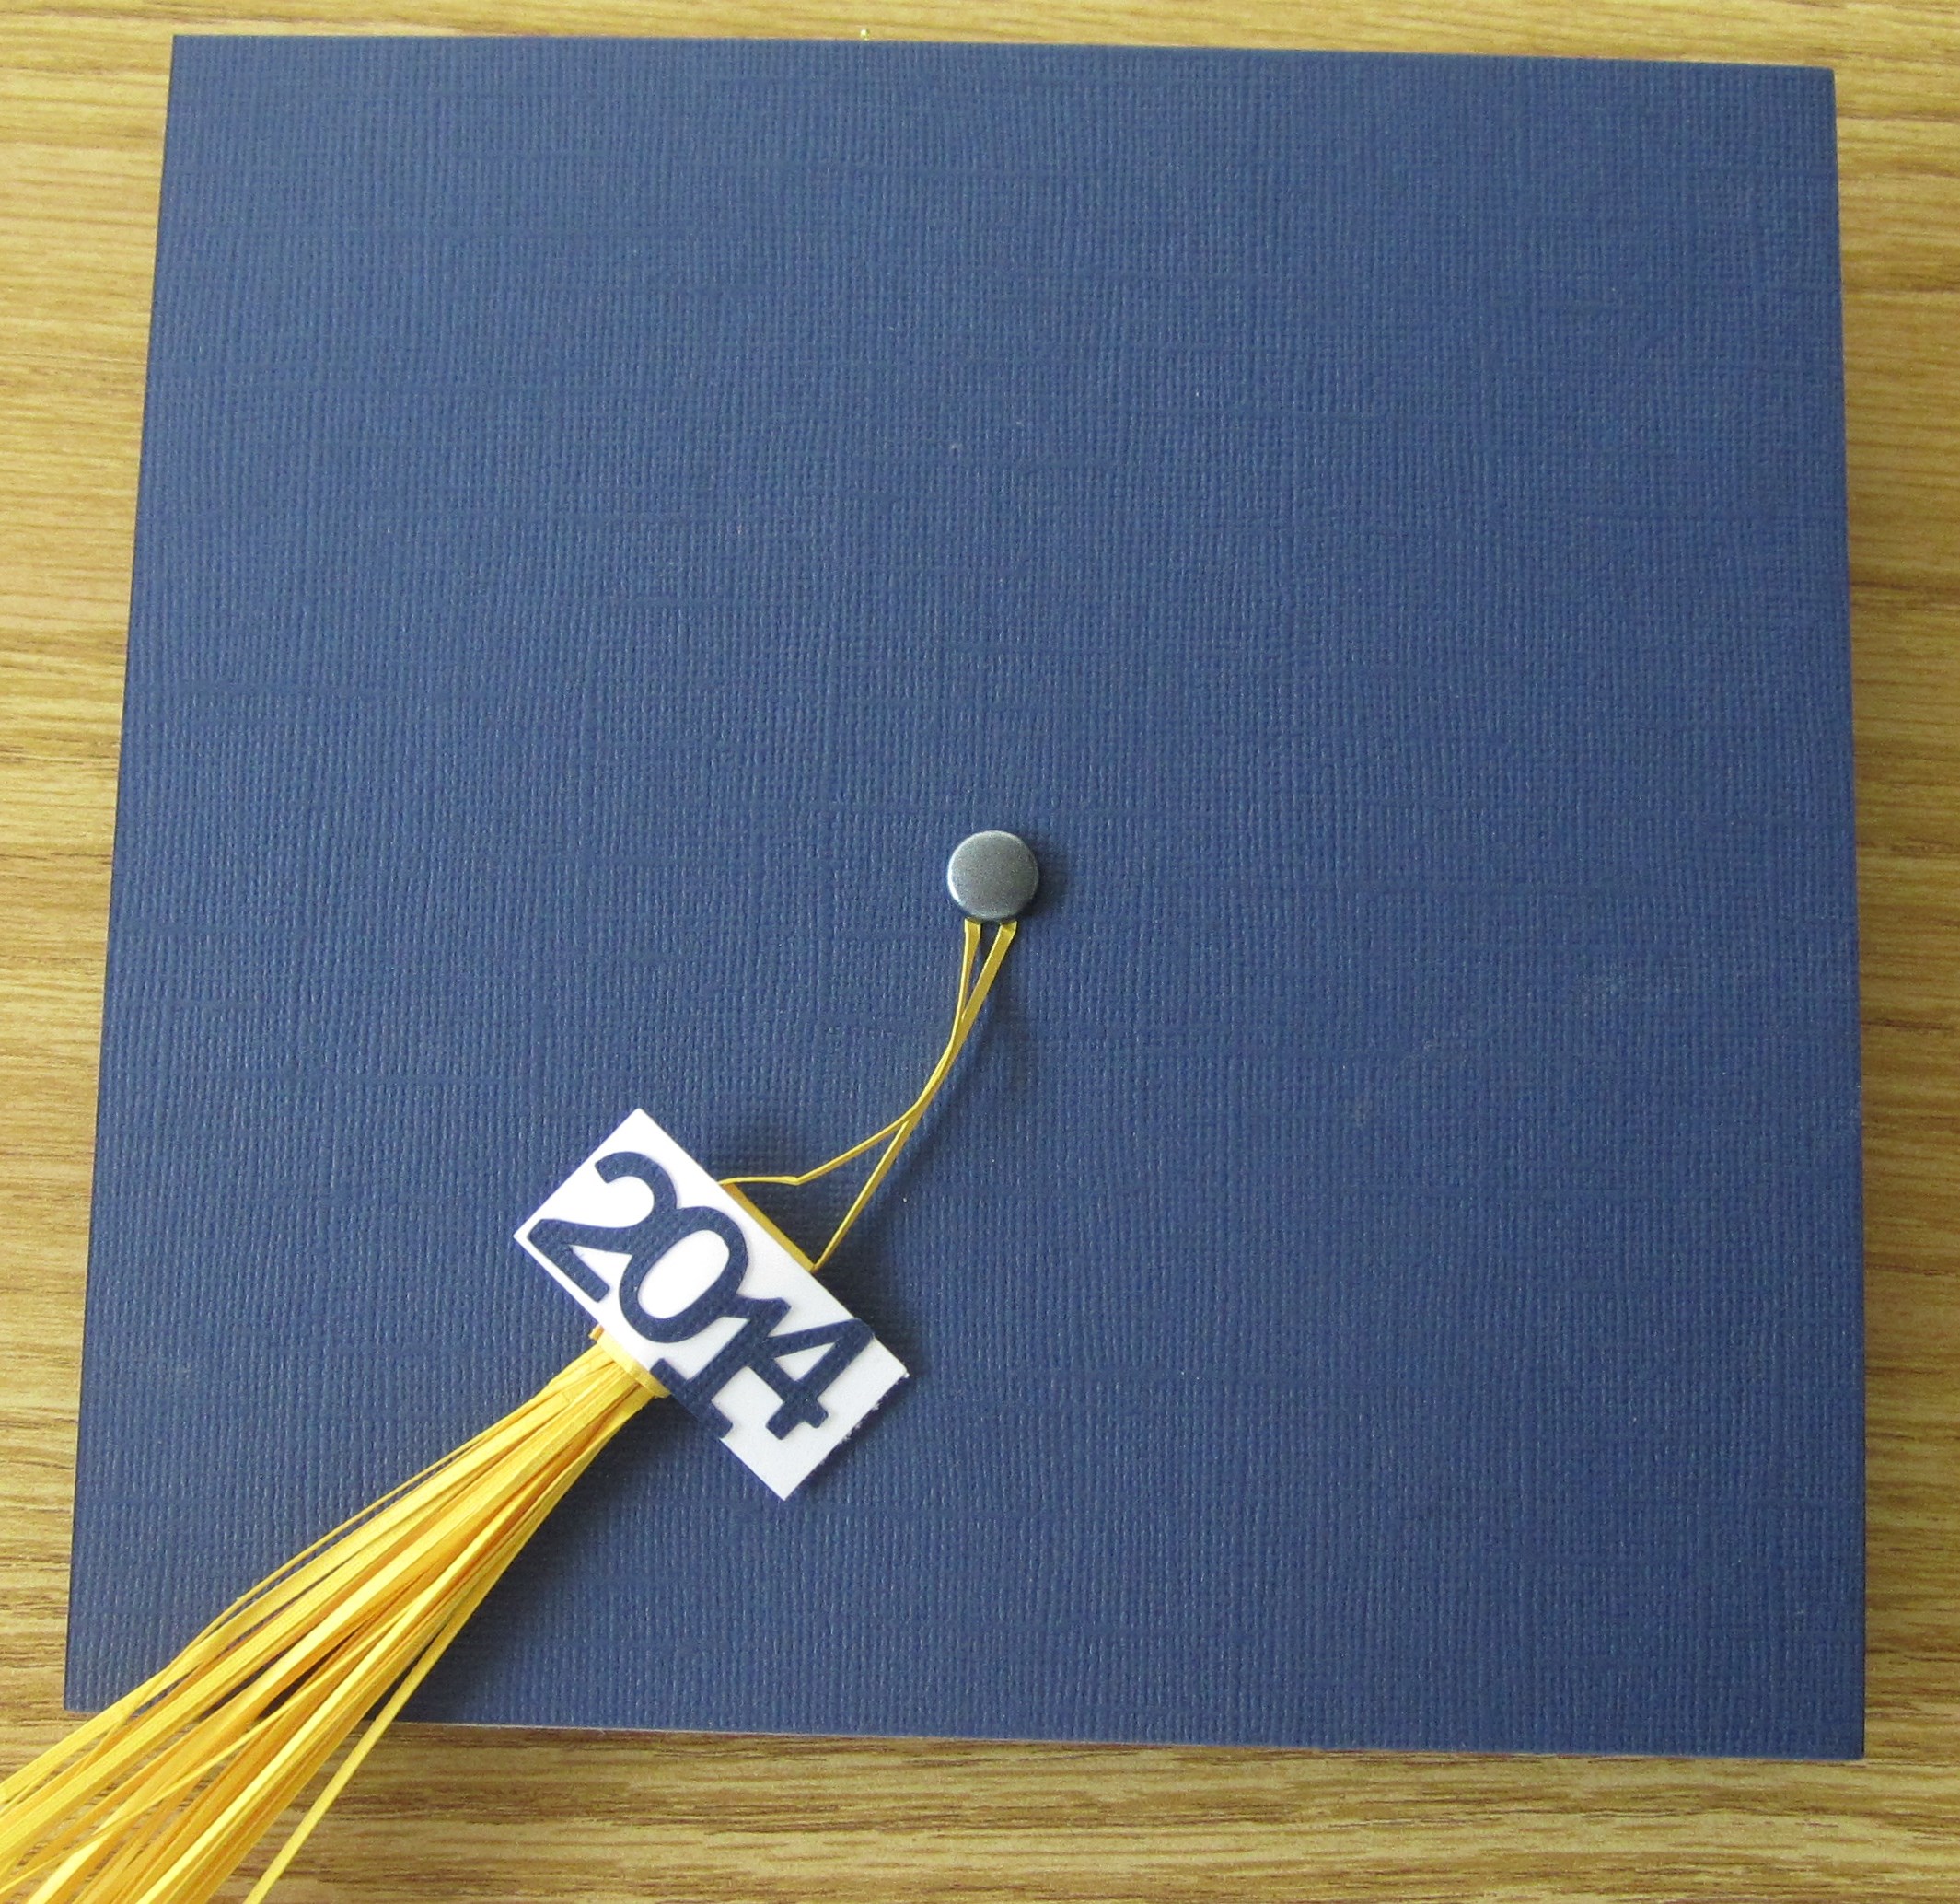
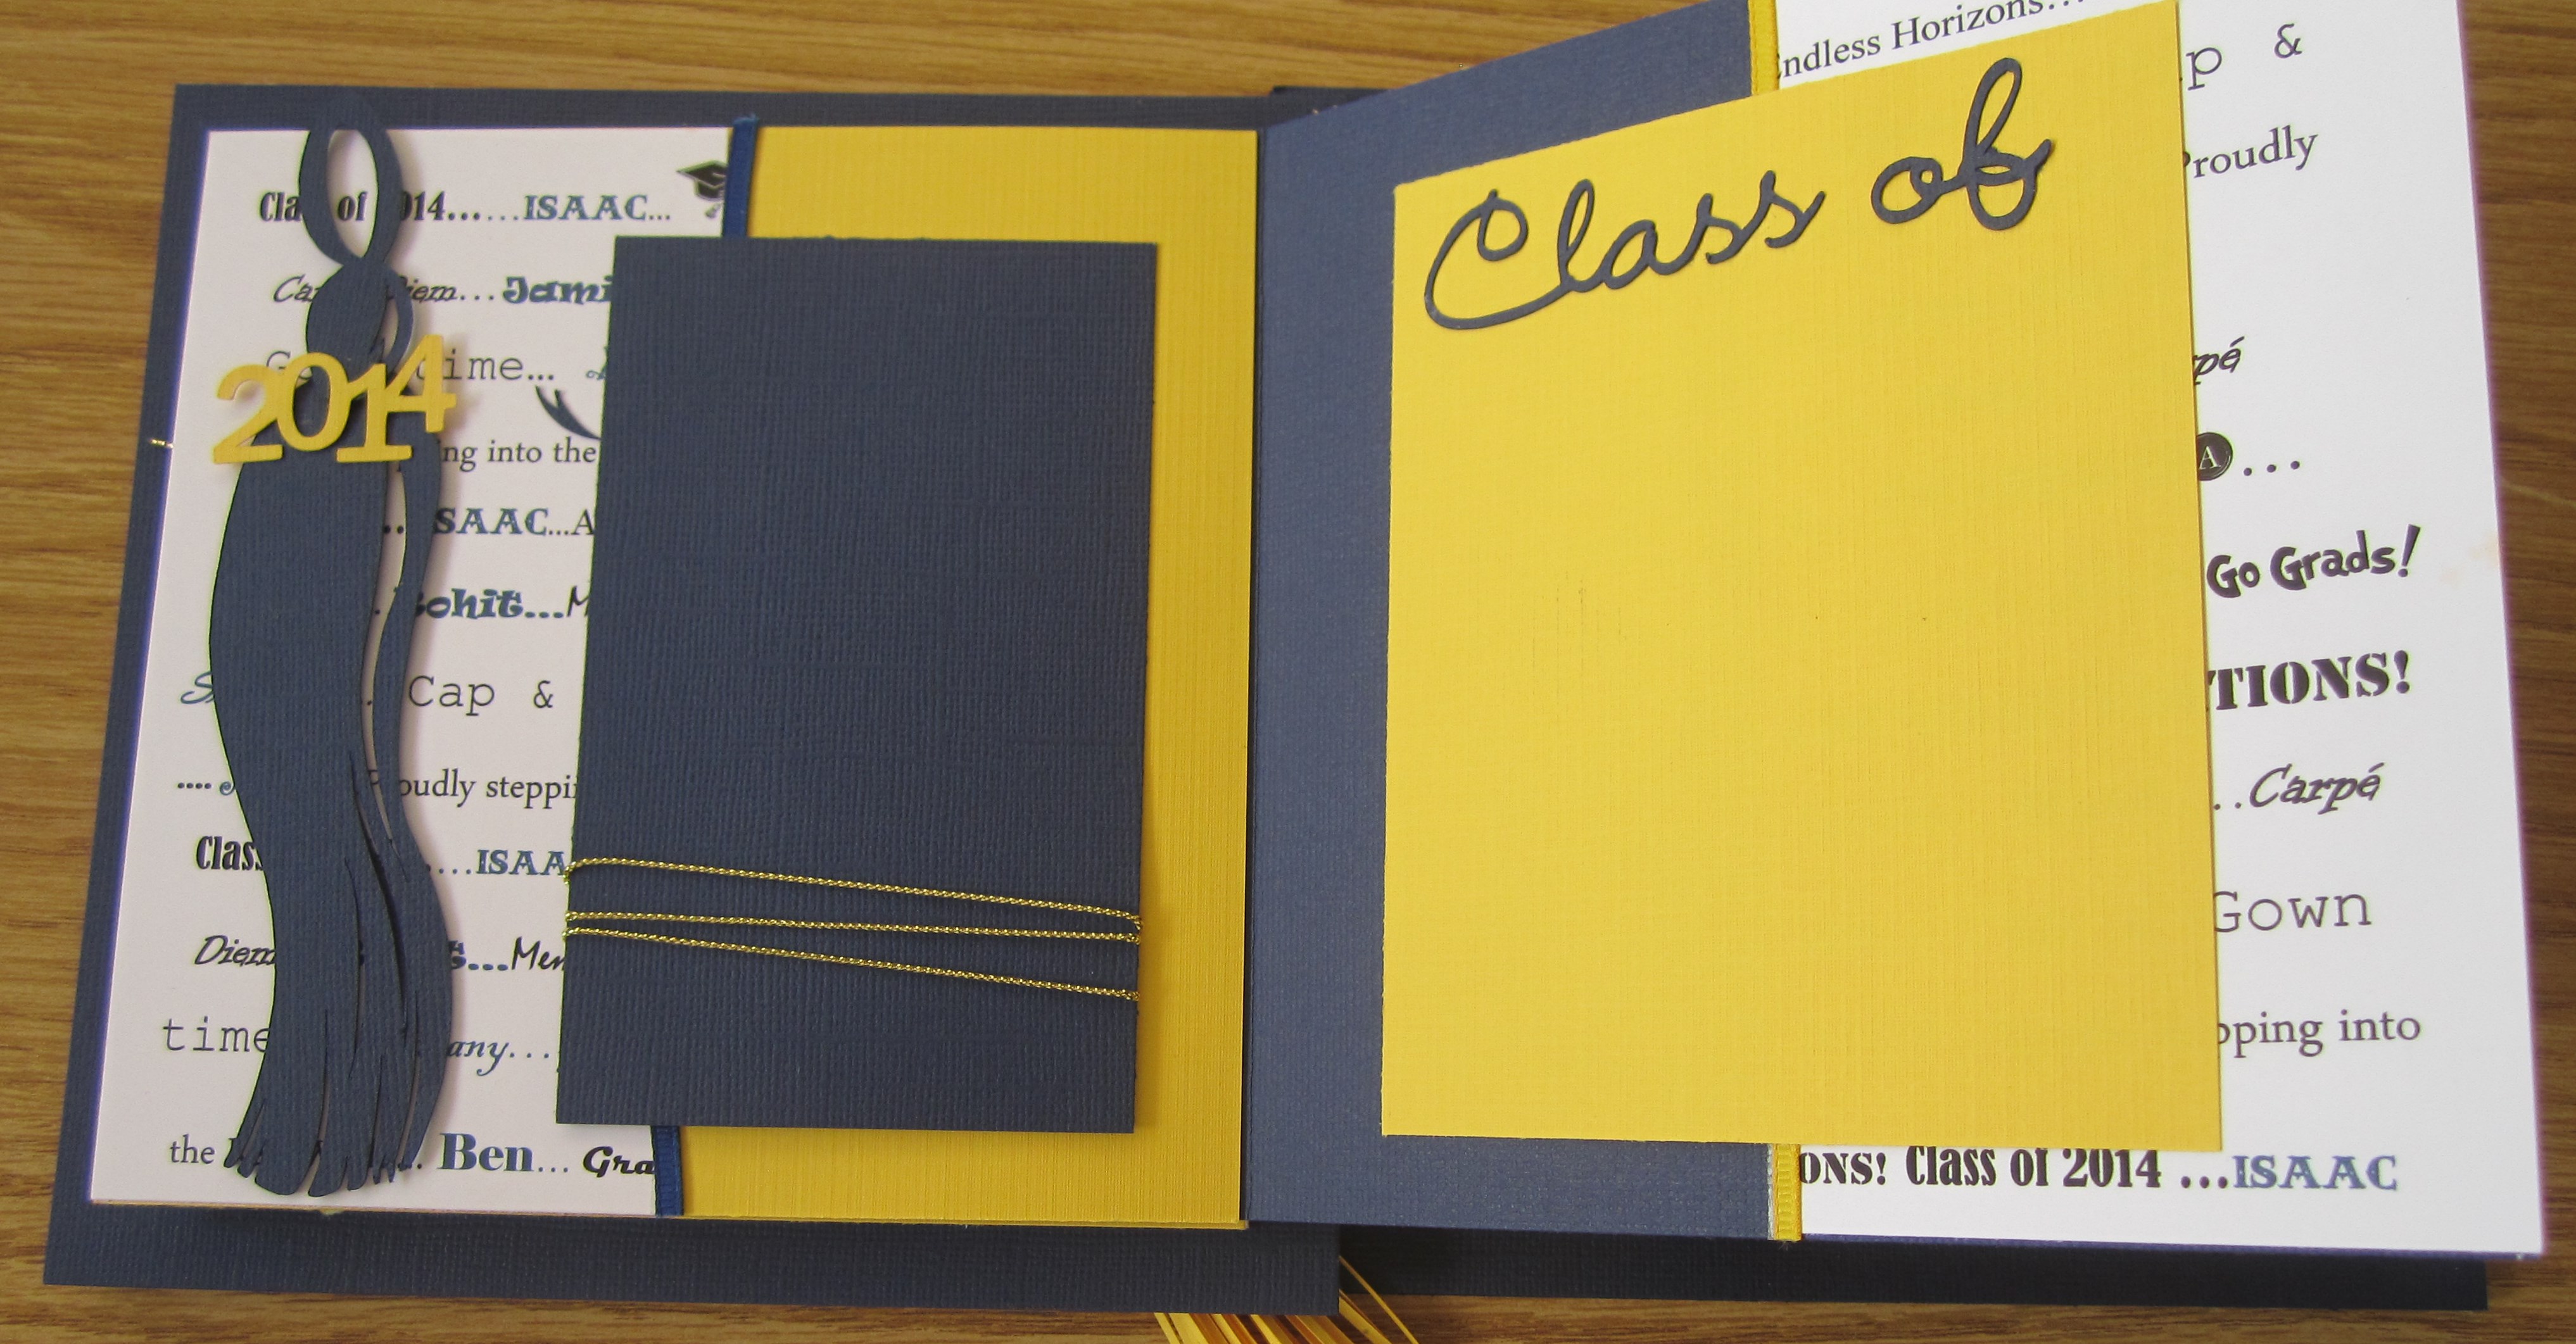
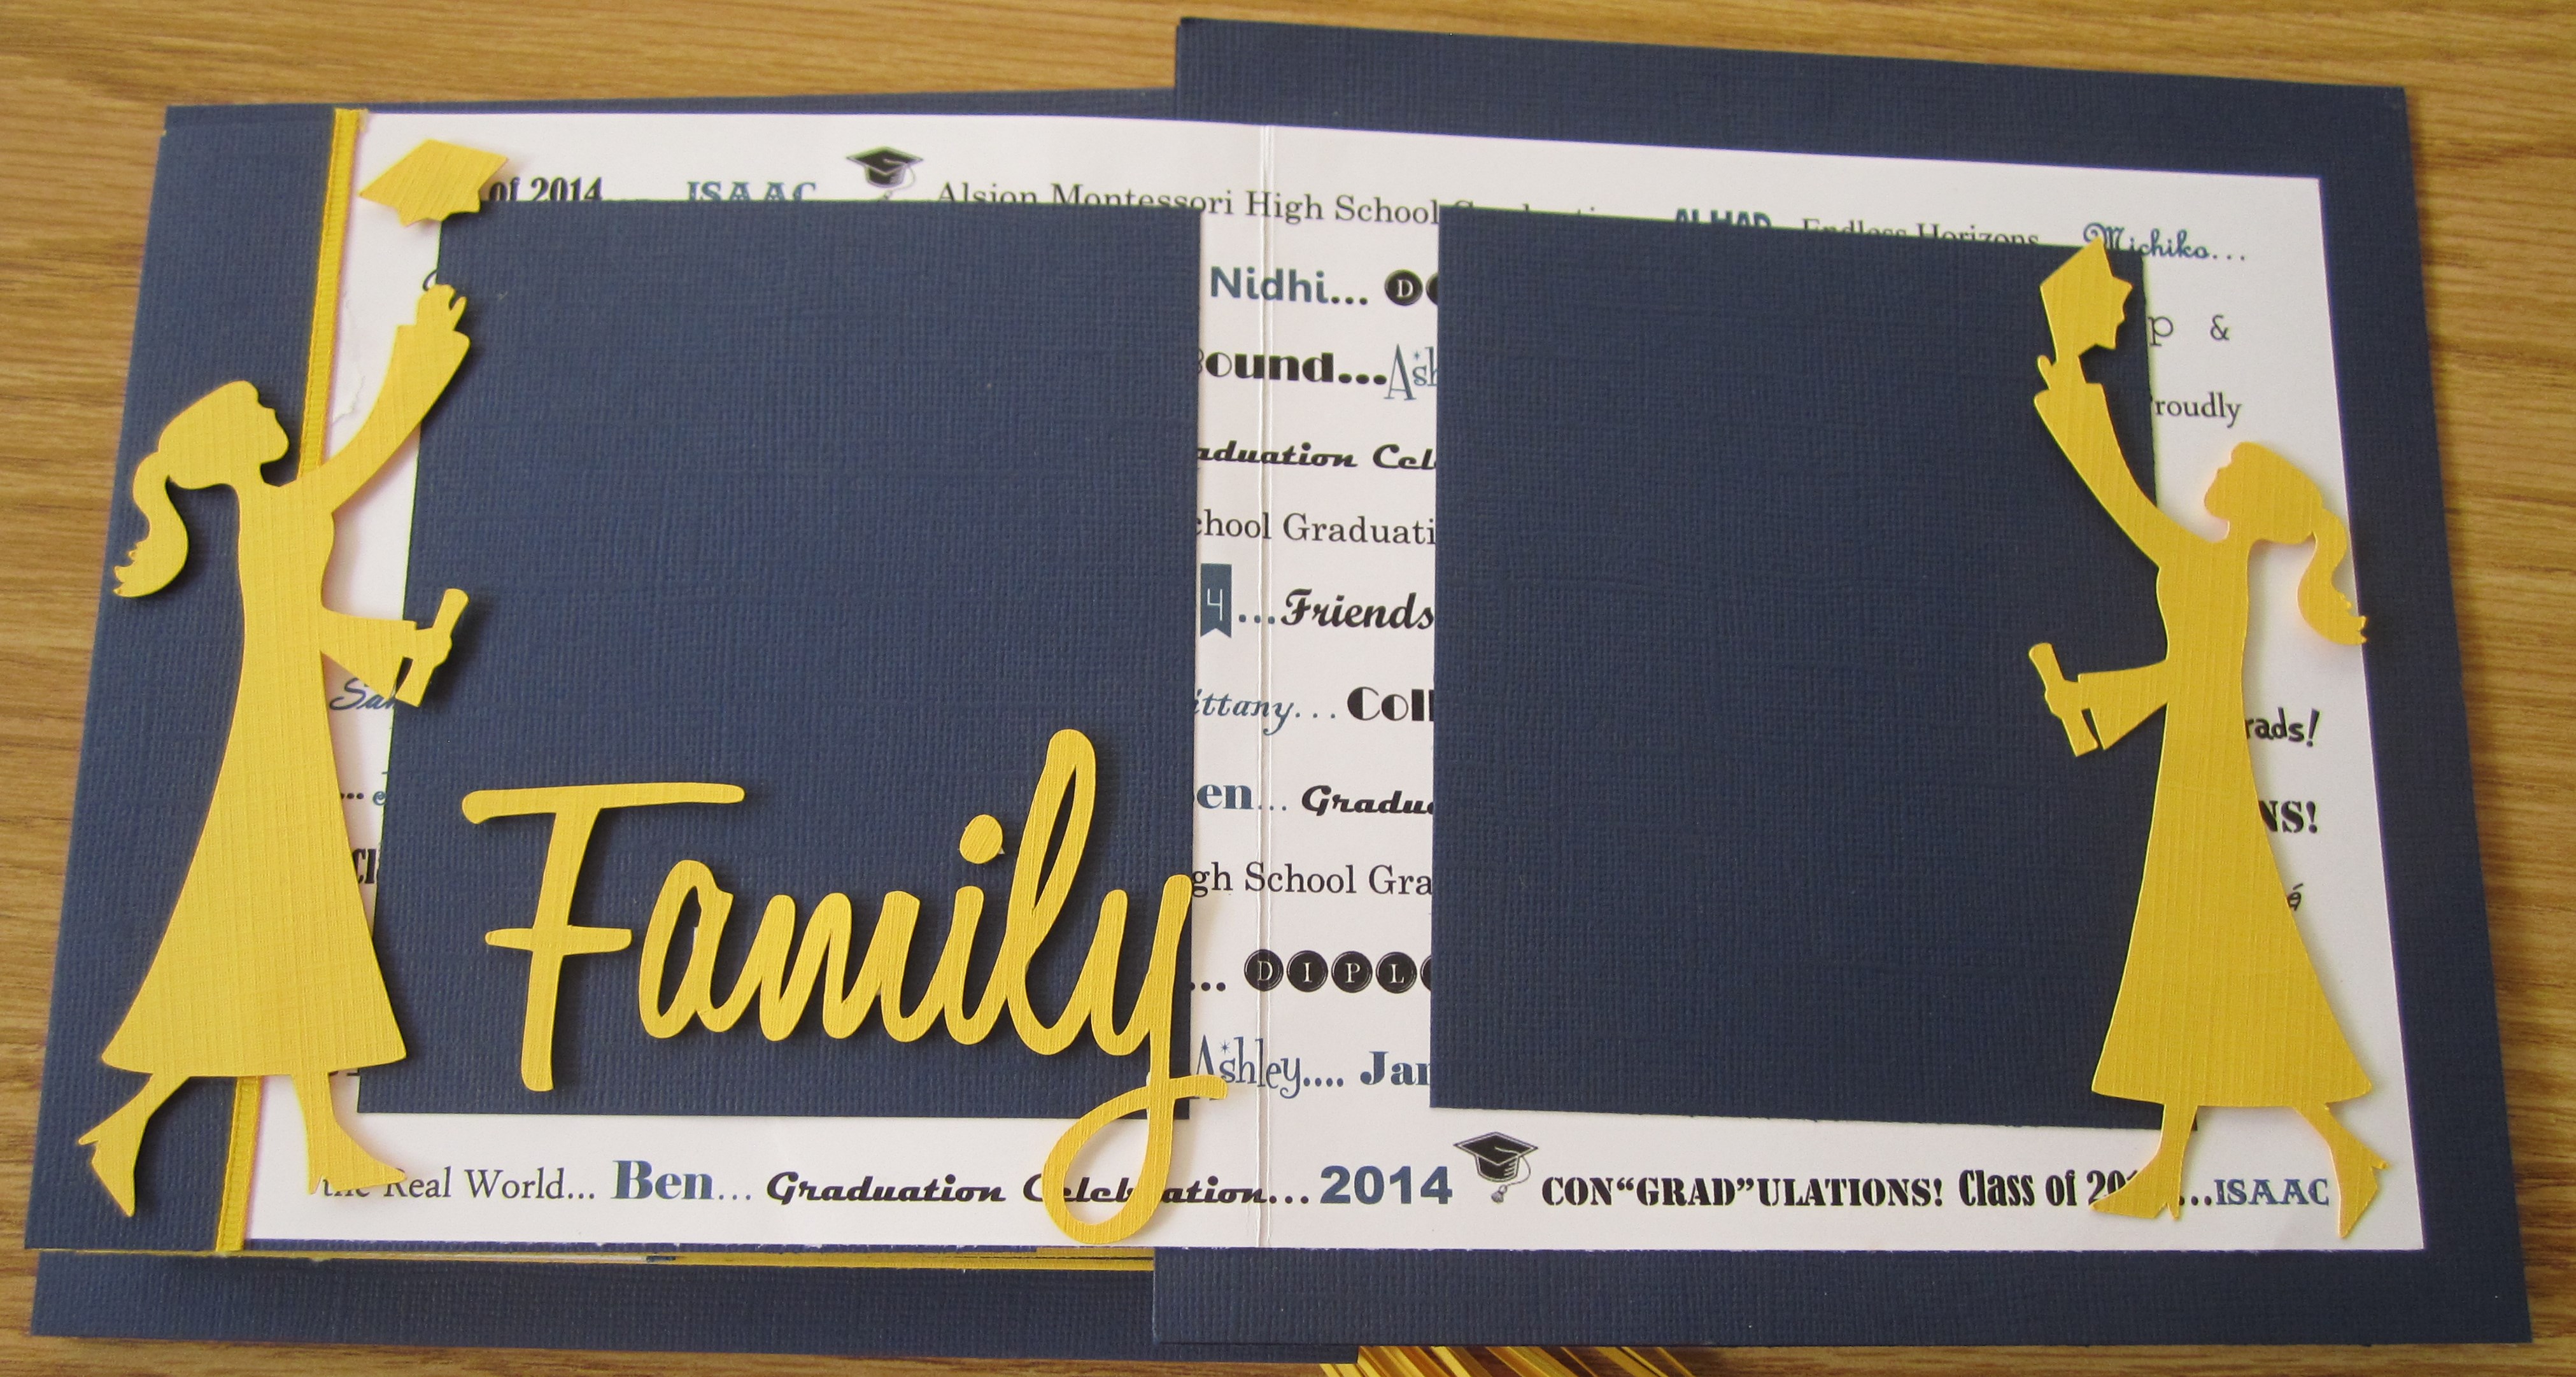
If you need a gift card box, this is a really nice one to use. Download the 3D Gift Card Box with Easel Card.

IMG_5585IMG_5587

What I like about this project is that it is a box within a box. You have an outside box which just plain cardstock. Once opened there is a inside easel box also made with cardstock. The easel box has a drawer for a gift card or check with little brad pull.

IMG_5590 As with the Birthday Stationary project, I used scraps of coordinating prints to create the gift card box.

Next week: More birthday gifts ideas using Silhouette downloads…..Stay tuned!

Leave a comment

Filed under Handmade Gifts, Silhouette Projects

Planning Wedding Anniversary Party? Or a Birthday Party? Make a Favor Cake with your Silhouette!

Mom & Dad's 40th Anniversary Party 001

I love planning parties!  Any kind of party! Whether it’s a birthday, anniversary, tea, luncheon, scrapbook…and no party is complete without favors…a little gift for attending…to each guest. Do you have a special anniversary or birthday party to plan for soon? I have just the perfect “Showstopper Centerpiece” for you! A couple of years ago my parents celebrated their 40th wedding anniversary. They wanted to have a tiered cake, but their favorite cake is not available tiered. So we had to go with Plan B…A favor cake! I created a really beautiful favor cake in the colors of the party. Each guest took a “paper slice” with a favor inside it home.

Mom & Dad's 40th Anniversary Party 003

Using Silhouette shape #27762, I cut slices of cake. The slices are three pieces. Top, middle, and bottom. The top cut in ivory and chalked with creamy brown. The center was cut in burgundy, stamped with a floral vine in clear versamark, embossed with clear embossing powder. The bottom layer of the slice is cut with black cardstock. Each slice is decorated with a swirl of black adhesive jewels and two rolled roses (Silhouette #11563). I wrapped each tier with ivory tulle to hold it tightly together.

002The cake top is made with tulle, the rolled roses, and a dome of Styrofoam (from Michaels) for the base. I glued the flowers onto the styrofoam base with hot glue. Add the tulle with floral picks. The numbers have toothpicks glued to the backs and then stick them into the styrofoam.

Mom & Dad's 40th Anniversary Party 005

If you are still feeling ambitious, try making a matching guestbook as a gift for the happy couple or birthday person. Here is the book that I made for my parents. During the party, each guest can write something special in it for the happy couple. I also had each guest bring a photo of the special couple to add to the album.

Here is peek at another birthday Favor cake that I designed for a little girl’s 8th birthday party using the same Silhouette shape. You can see this is a very versatile idea. You just need to pick a theme and run with it.

2013-05-14 0152013-05-14 0012013-05-14 003

2013-05-14 009

Hope you get a chance to try this great idea out for a party soon. There are additional 3d slices of cake in the Silhouette Online store as well as additional ideas on Pinterest.

I

Leave a comment

Filed under Mini Albums, Silhouette Projects

Celebrate the Grads in your life with this Quick and Easy Mini Album!

Graduation 9 X 9 Mini Album
Graduation 8 X 8 Mini Album

This little album is really easy to do. Start off with 2 pieces of 9 X 9 chipboard and 8-10 pieces of 8 1/2 X 11 cardstock, score the cardstock into 8 1/2 X 8 1/2 squares. Attached the flap of the cardstock onto the 8 1/2 X 8 1/2 square as seen below to create an accordion album.

attach flaps to 8 1/2 square to create an accordian album

Once you have your base completed, you can work on your covers. Cover one side of two 9 X 9 heavy chipboard squares with cardstock. I like to use cardstock that matches the graduate’s school colors. Then using your Silhouette, cut a tassel in a coordinating color as well as a tag to add the Grad Year. Attach the tassel with a large brad to the center of the cover of your album. Cover one side of the base of album with matching cardstock. Using the same color or a coordinating color of cardstock, cover the other side of the covers.

Inside first page of mini album

Now you can attach you center pages now or complete your album and then attach. I prefer to attach once the album is complete. To make sure that I do not forget and scrap onto the portion of the album I will be attaching to the cover, I draw a big “X” across it.

2014-05-25 020

Next I used Microsoft Word to create the “printed paper” for my album. Using the Graduate’s name, her friend’s names, the School Name, the School Mascot, and Graduation lingo, I created printed paper for the album plus some other gifts I made her.  I stamped a Prima Julia Nutting paper doll and used the Silhouette to create a graduation gown for the doll. 2014-05-25 022

Now I can create pages with my “printed paper” to highlight each signature event and special moment for graduation . With my Silhouette, I cut graduation die cuts for page decoration. Then I cut photo mats and wrapped them with coordinating ribbon or cord. Here are a few more page ideas….

2014-05-25 021

2014-05-25 024

2014-05-25 025

Once my pages are complete I adhere the back of the first page to the center of the back of the chipboard cover and center the back of the last page the the inside of the base cover.

Completed Album

Completed Album

Please feel free to email me with any questions on how to assemble this little album. I would be happy to offer additional assistance where I can.

And congratulations to all of you who are graduating or have graduates in your lives this year! The best of luck to you all!

Happy Scrappin’

Michele

2 Comments

Filed under Mini Albums, Silhouette Projects

Mother’s Day Fun Continued…Here’s the Little Girl Album!

My Little Girl Album is so cute and a perfect spot for all the little baby girl photos in your life!

IMG_0147

Using great little pink and brown ribbons to accent and bind the album.

IMG_0149

And velcro to close. Use buttons and colored safety pins.

IMG_0148

Great gift for Mom or Grandma!

IMG_0151

IMG_0150

For more detailed instructions regarding creating this baby girl album with your Silhouette see the previous post for the Little Boy album last week.

Leave a comment

Filed under Mini Albums, Silhouette Projects

In honor of Mother’s Day…Here is a cute little baby album for a boy!

Silhouette Pocket Mini Album adapted to create this cute little baby album.

Silhouette Pocket Mini Album adapted to create this cute little baby album.

This week I am posting the boy album and next week you will see the girl’s album. This cute little boy album is perfect for a Baby Brag Book to keep in a purse. Accented with cute baby themed ribbon and baby scrapbook paper, this album would be a great baby shower gift.  Plus it’s super easy to put together!

IMG_0138

I used a velcro closure. Cut pockets, printed pages and mats.

IMG_0139

Using your Silhouette, cut the Pocket Mini Album, baby animals and photo mats.

IMG_0145

These little Silhouette baby animals are perfect! Use cute little safety pins and matching brads to accent your photo mats.

IMG_0141

IMG_0146

Here is the entire album laid flat. Next week I will be posting the little baby girl album… So cute!

Leave a comment

Filed under Mini Albums, Silhouette Projects

Back at Last! Here’s a new project for you….

Looking for a really special birthday gift for a friend? Well, how about some personal notes cards in a matching box? Here is the check list for this gift: Box, Thank You Note, Hello Note, Birthday Card, Gift Tag, Mini Note, plus envelopes. Here is the Silhouette shape I used for the box and stationary: A2 3D Stationary Box from Samantha Walker, retro cooking lady, pear, card kit, cherries with heart, pretty flourish words-birthday party, cupcake and peace and love bubble.

Stationary Box--Silhouette Shape: A2 3D Stationary Box by Samantha Walker

IMG_0589

I used Basic Grey prints and cardstock from Bazzill and Paper Accents to create the entire project. For the Thank you note, I used the Silhouette shape: card scallop rays to cut the base card. The “Thanks” was cut using “Honey Script.” For the Hello card use: “What’s Cooking?” title and the retro lady shape.
IMG_0579 IMG_0580

IMG_0581IMG_0582

The “Cupcake Birthday” card uses a Silhouette shape called “card kit.” I added the pocket for a gift card with a birthday sentiment to the inside and a velcro closure. Use a cupcake on the front flap or a matching birthday shape.

IMG_0584

IMG_0585 (2)

For the “Peace Sign” gift Tag and the mini tags is used: Silhouette shapes “Peace Sign + Heart” and the Cherries with Heart shapes.

Add all cards and matching envelopes to box. I did not add envelopes for the birthday card or the mini cards/tags. Use velcro to close box. Add ribbon to flap, if desired. Create a name plate to add to front of box. I wrapped the box in a clear cellophane bag from Michael’s.

Hope you have lots of fun with this project. More projects coming soon….a calendar project, cards, journals, scrapbook pages and more.

Leave a comment

Filed under Silhouette Projects

Really cute Fall Dolls! with Julia Nutting Paper Dolls and Silhouette Designs

Happy Thanksgiving to all of my scrapbooking friends! Sending a really cute trio of Fall Dolls your way as a Thanksgiving weekend Treat! With a holiday promise that the “Holly-Day Dolls” will be here soon! I have made my Fall dolls with combination of papers from October Afternoon, My Minds Eye, and Simple Stories. The cardstock is from Bazzill and Paper Accents. The dolls themselves are stamped with the Julia Nutting Stamps from Prima and then used a paper doll cut with my Silhouette for the arms. The clothes are also a combo of Silhouette and stamps. You will find all of the other diecuts online in the Silhouette Online Store.

ImageHappy Holidays to one and all!…and Happy Scrappin’

Michele

Leave a comment

Filed under Silhouette Projects

Silhouette Fall Advent Calendar Box

Image

Fall Advent Calendar Box

Capture Autumn in a box from “Back to School to Thanksgiving.” Each cubby in the box represents some of our fall favorites: the little red school house, school bus, pumpkins, apple cider, pie, football, Columbus, fall leaves,  pilgrims and indians, Thanksgiving turkey and pumpkin pie. Find all of the designs in the Silhouette Online store,. I used Imaginisce Fall print, Bazzill and Paper Accents cardstock.

Best of all you can fill the drawers and boxes with sweet treats for the little hands in your life! Happy Thanksgiving!

MicrosoftInternetExplorer4

2 Comments

Filed under Silhouette Projects

A “Spooky” Spectacular Halloween Advent Calendar Box

It’s time to get out your Advent Calendar Box…some “spooky” inspiration is coming your way! You will find all of the shapes in the Silhouette Online Store Library! I used Halloween prints from K & Company, Paper Arts and Bazzill cardstock.

Image


Love this Advent Calendar with its cute black cat, candy apple, trick or treat buckets, candy, witch and moon, bubbling cauldron, etc. These are some awesome Halloween icons. What a wonderful addition to your Halloween Decor! Keep the kids happy all through October when you add candy to the drawers!

Leave a comment

Filed under Silhouette Projects

Say “Happy Halloween” with a sweet treat!!

I love giving cute, but spooky, little candy boxes to friends on Halloween Day! This candy dispenser box is quick and easy to make. Look for it in the Silhouette Library.

Image

ImageSay “Happy Halloween” to friends and co-workers with these little spooky “Tootsie” treats. It only took me a few hours to make these to give out to special Trick or Treaters Halloween evening.Image

Leave a comment

Filed under Silhouette Projects