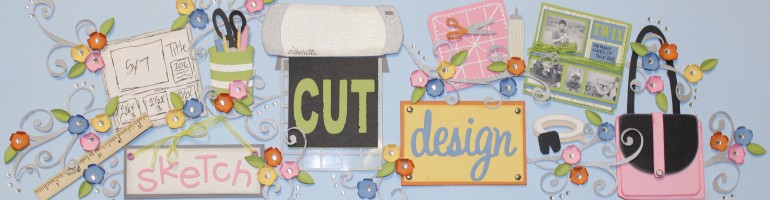
- Graduation 8 X 8 Mini Album

This little album is really easy to do. Start off with 2 pieces of 9 X 9 chipboard and 8-10 pieces of 8 1/2 X 11 cardstock, score the cardstock into 8 1/2 X 8 1/2 squares. Attached the flap of the cardstock onto the 8 1/2 X 8 1/2 square as seen below to create an accordion album.

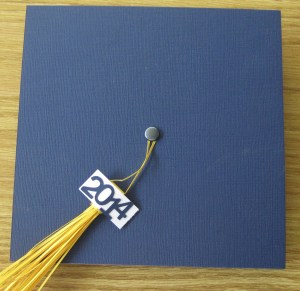
Once you have your base completed, you can work on your covers. Cover one side of two 9 X 9 heavy chipboard squares with cardstock. I like to use cardstock that matches the graduate’s school colors. Then using your Silhouette, cut a tassel in a coordinating color as well as a tag to add the Grad Year. Attach the tassel with a large brad to the center of the cover of your album. Cover one side of the base of album with matching cardstock. Using the same color or a coordinating color of cardstock, cover the other side of the covers.

Now you can attach you center pages now or complete your album and then attach. I prefer to attach once the album is complete. To make sure that I do not forget and scrap onto the portion of the album I will be attaching to the cover, I draw a big “X” across it.

Next I used Microsoft Word to create the “printed paper” for my album. Using the Graduate’s name, her friend’s names, the School Name, the School Mascot, and Graduation lingo, I created printed paper for the album plus some other gifts I made her. I stamped a Prima Julia Nutting paper doll and used the Silhouette to create a graduation gown for the doll. 
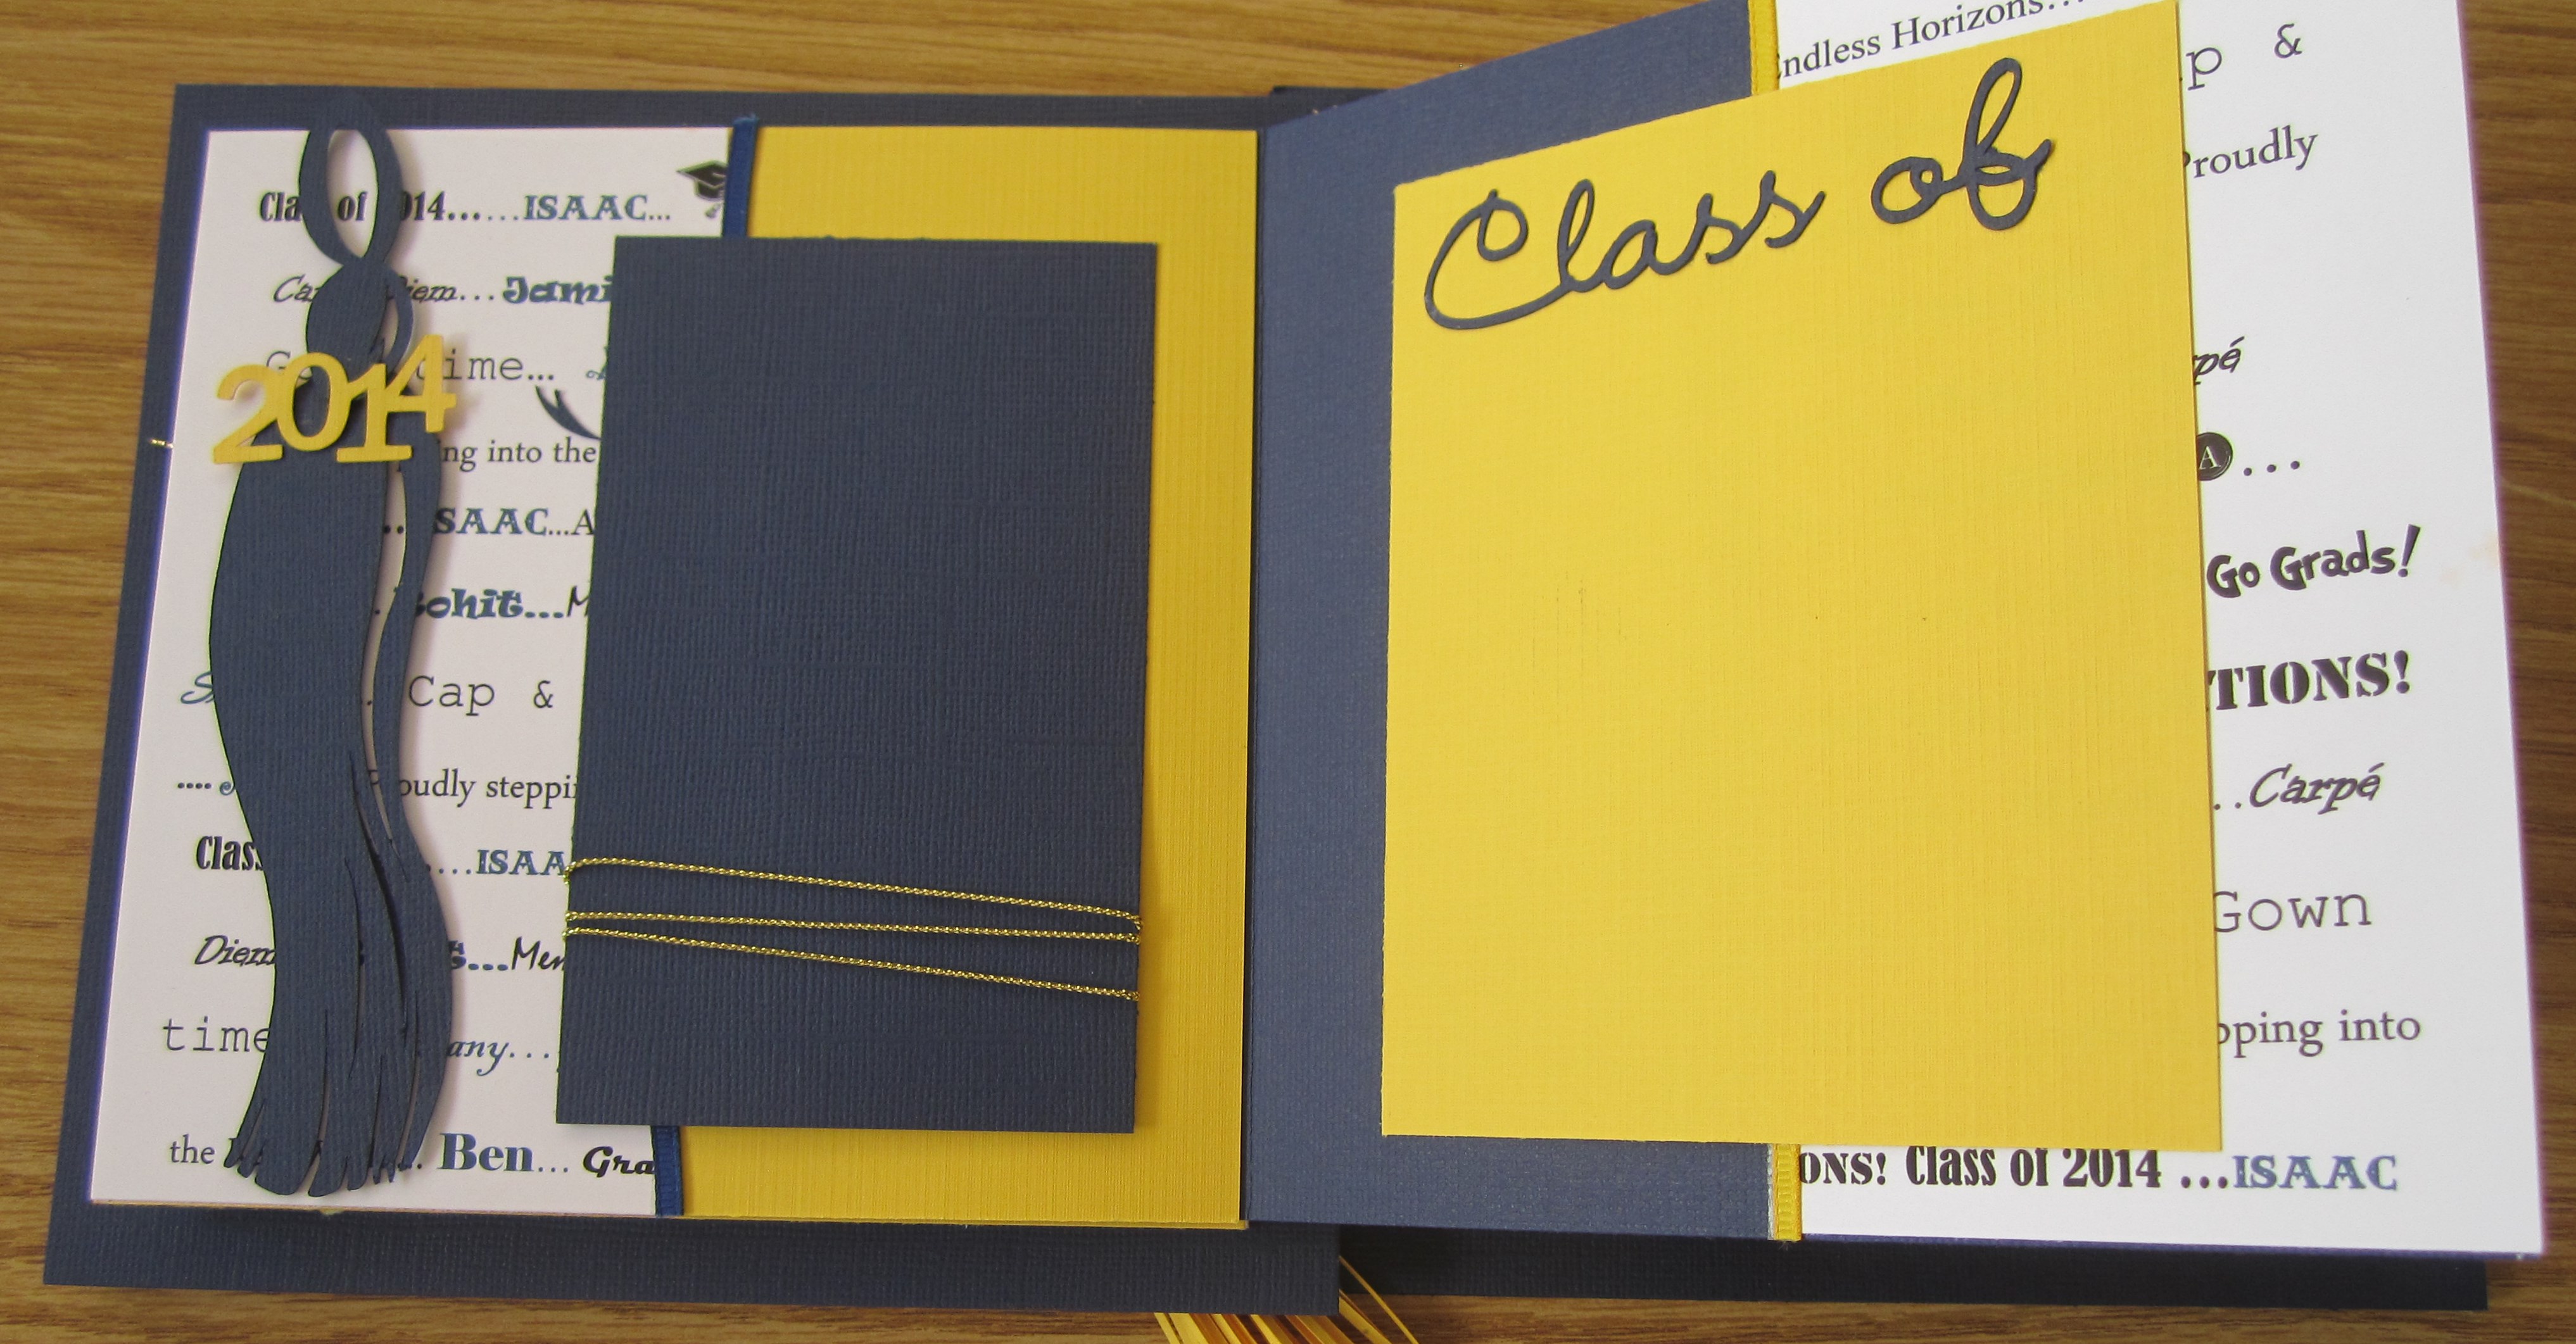
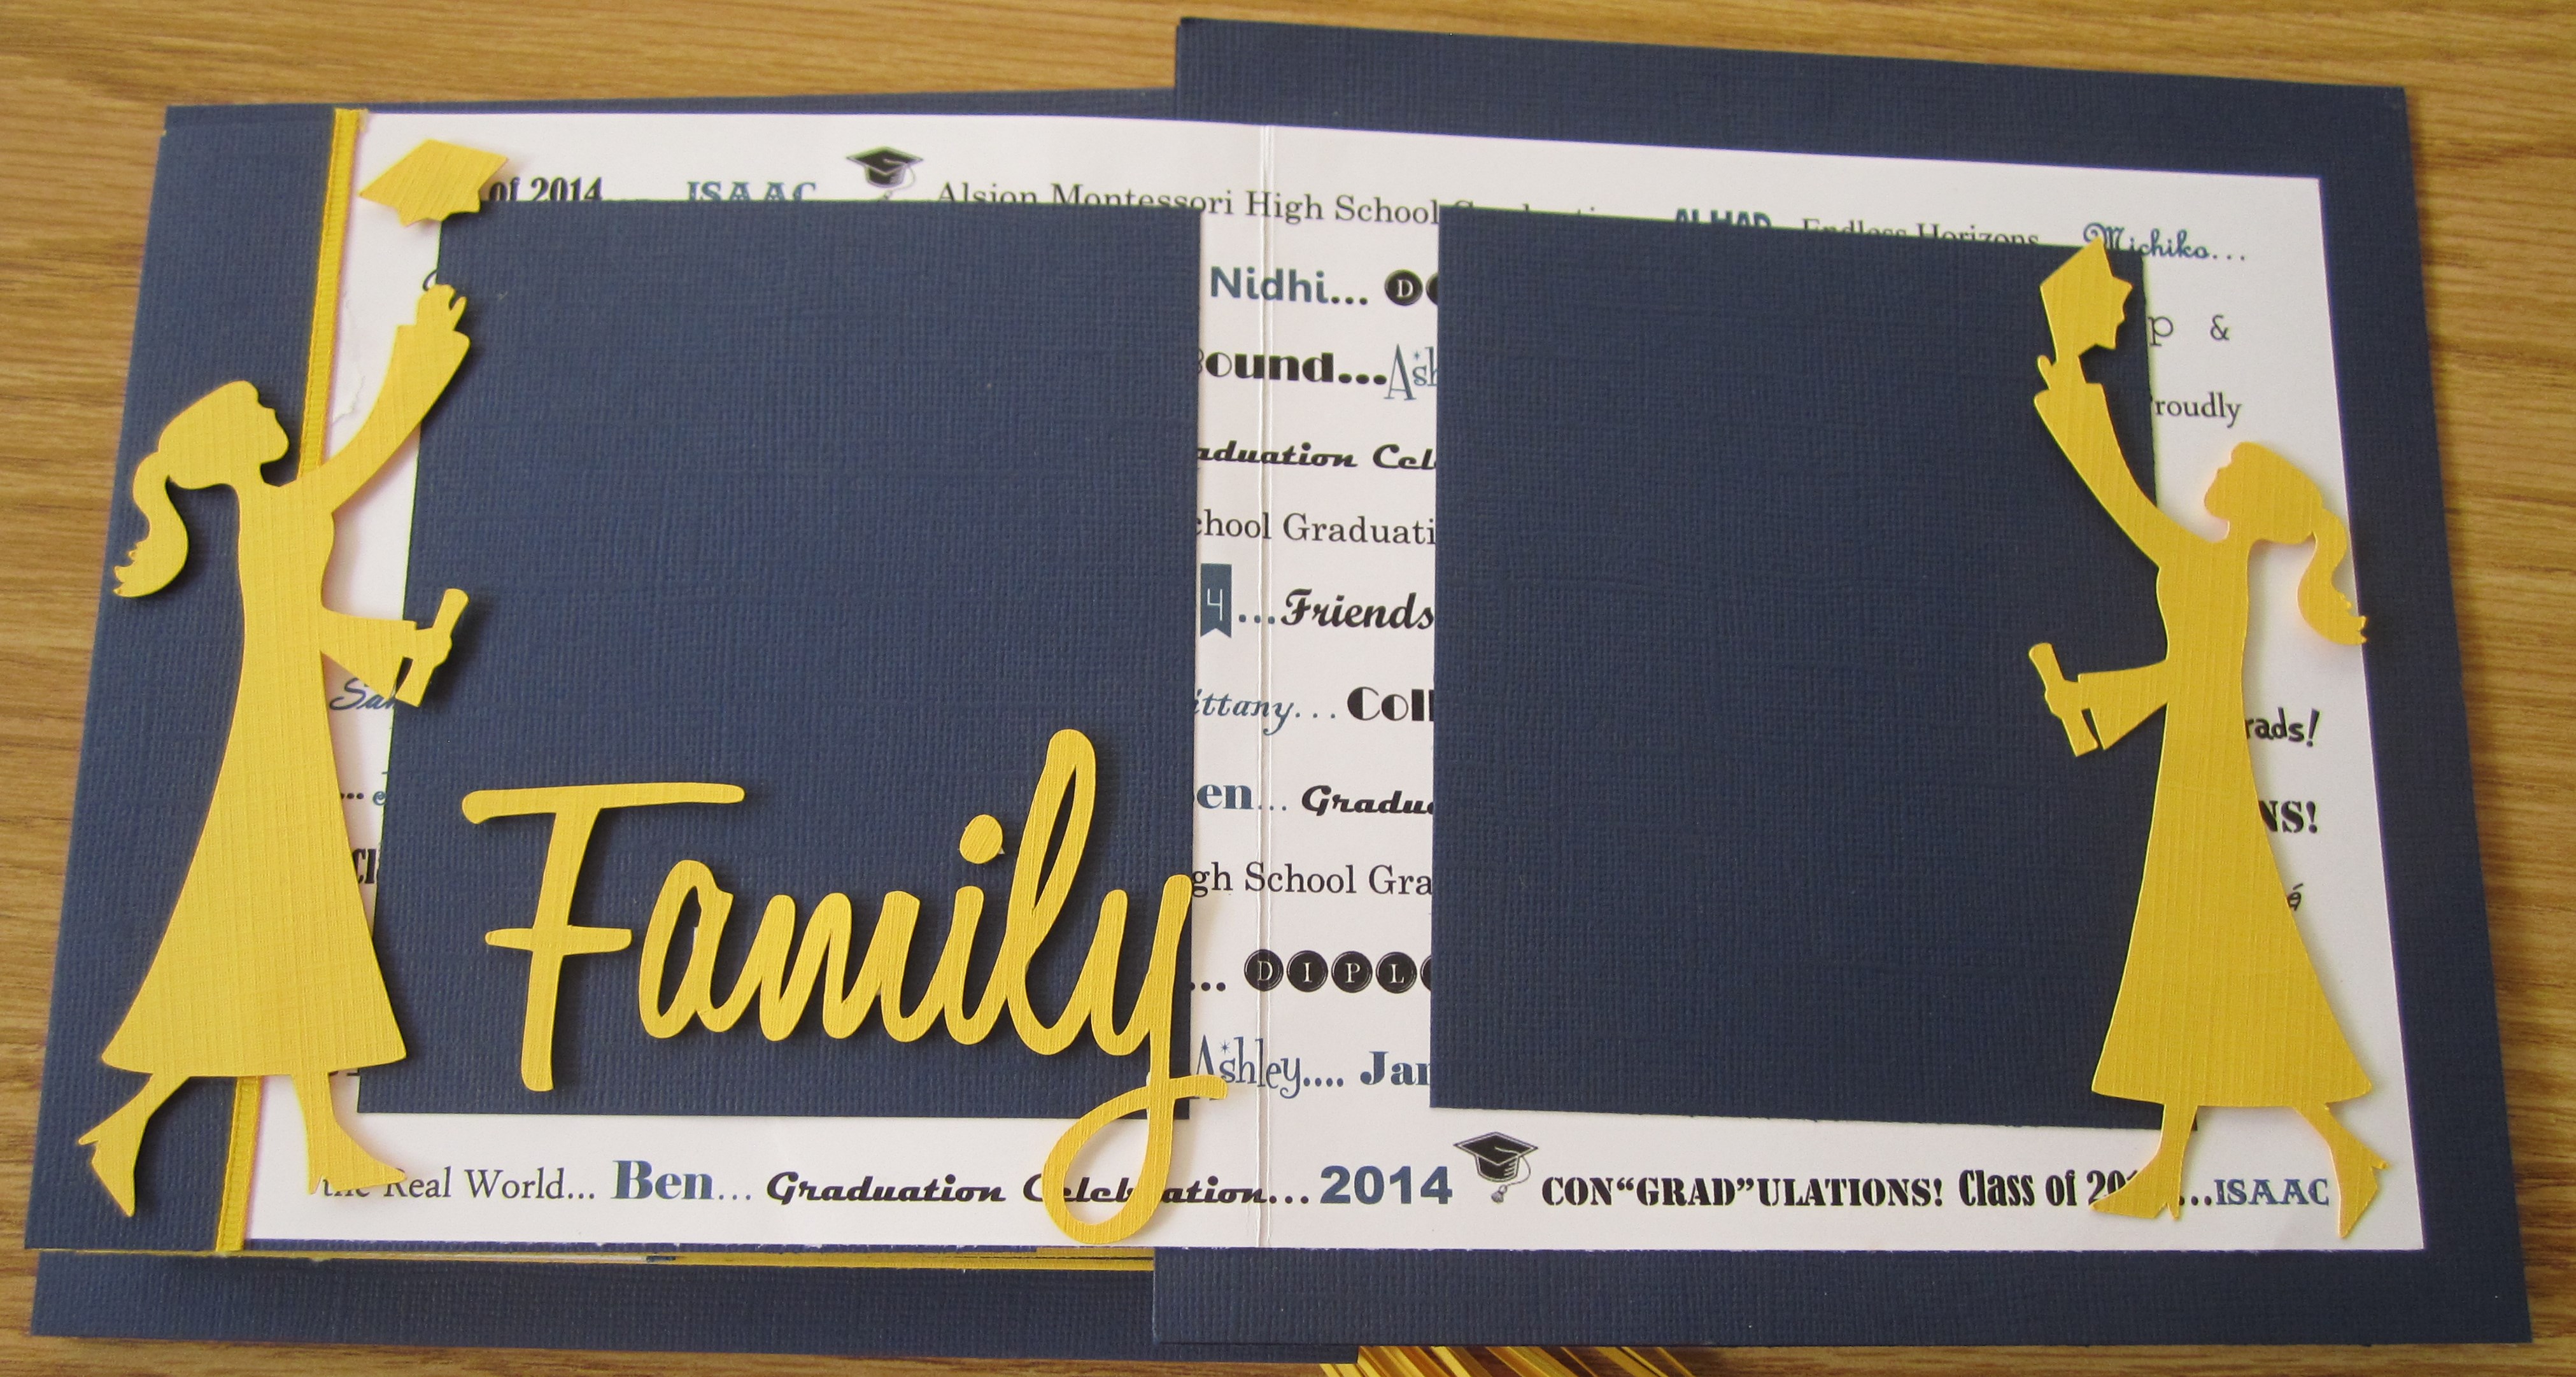
Now I can create pages with my “printed paper” to highlight each signature event and special moment for graduation . With my Silhouette, I cut graduation die cuts for page decoration. Then I cut photo mats and wrapped them with coordinating ribbon or cord. Here are a few more page ideas….


Once my pages are complete I adhere the back of the first page to the center of the back of the chipboard cover and center the back of the last page the the inside of the base cover.
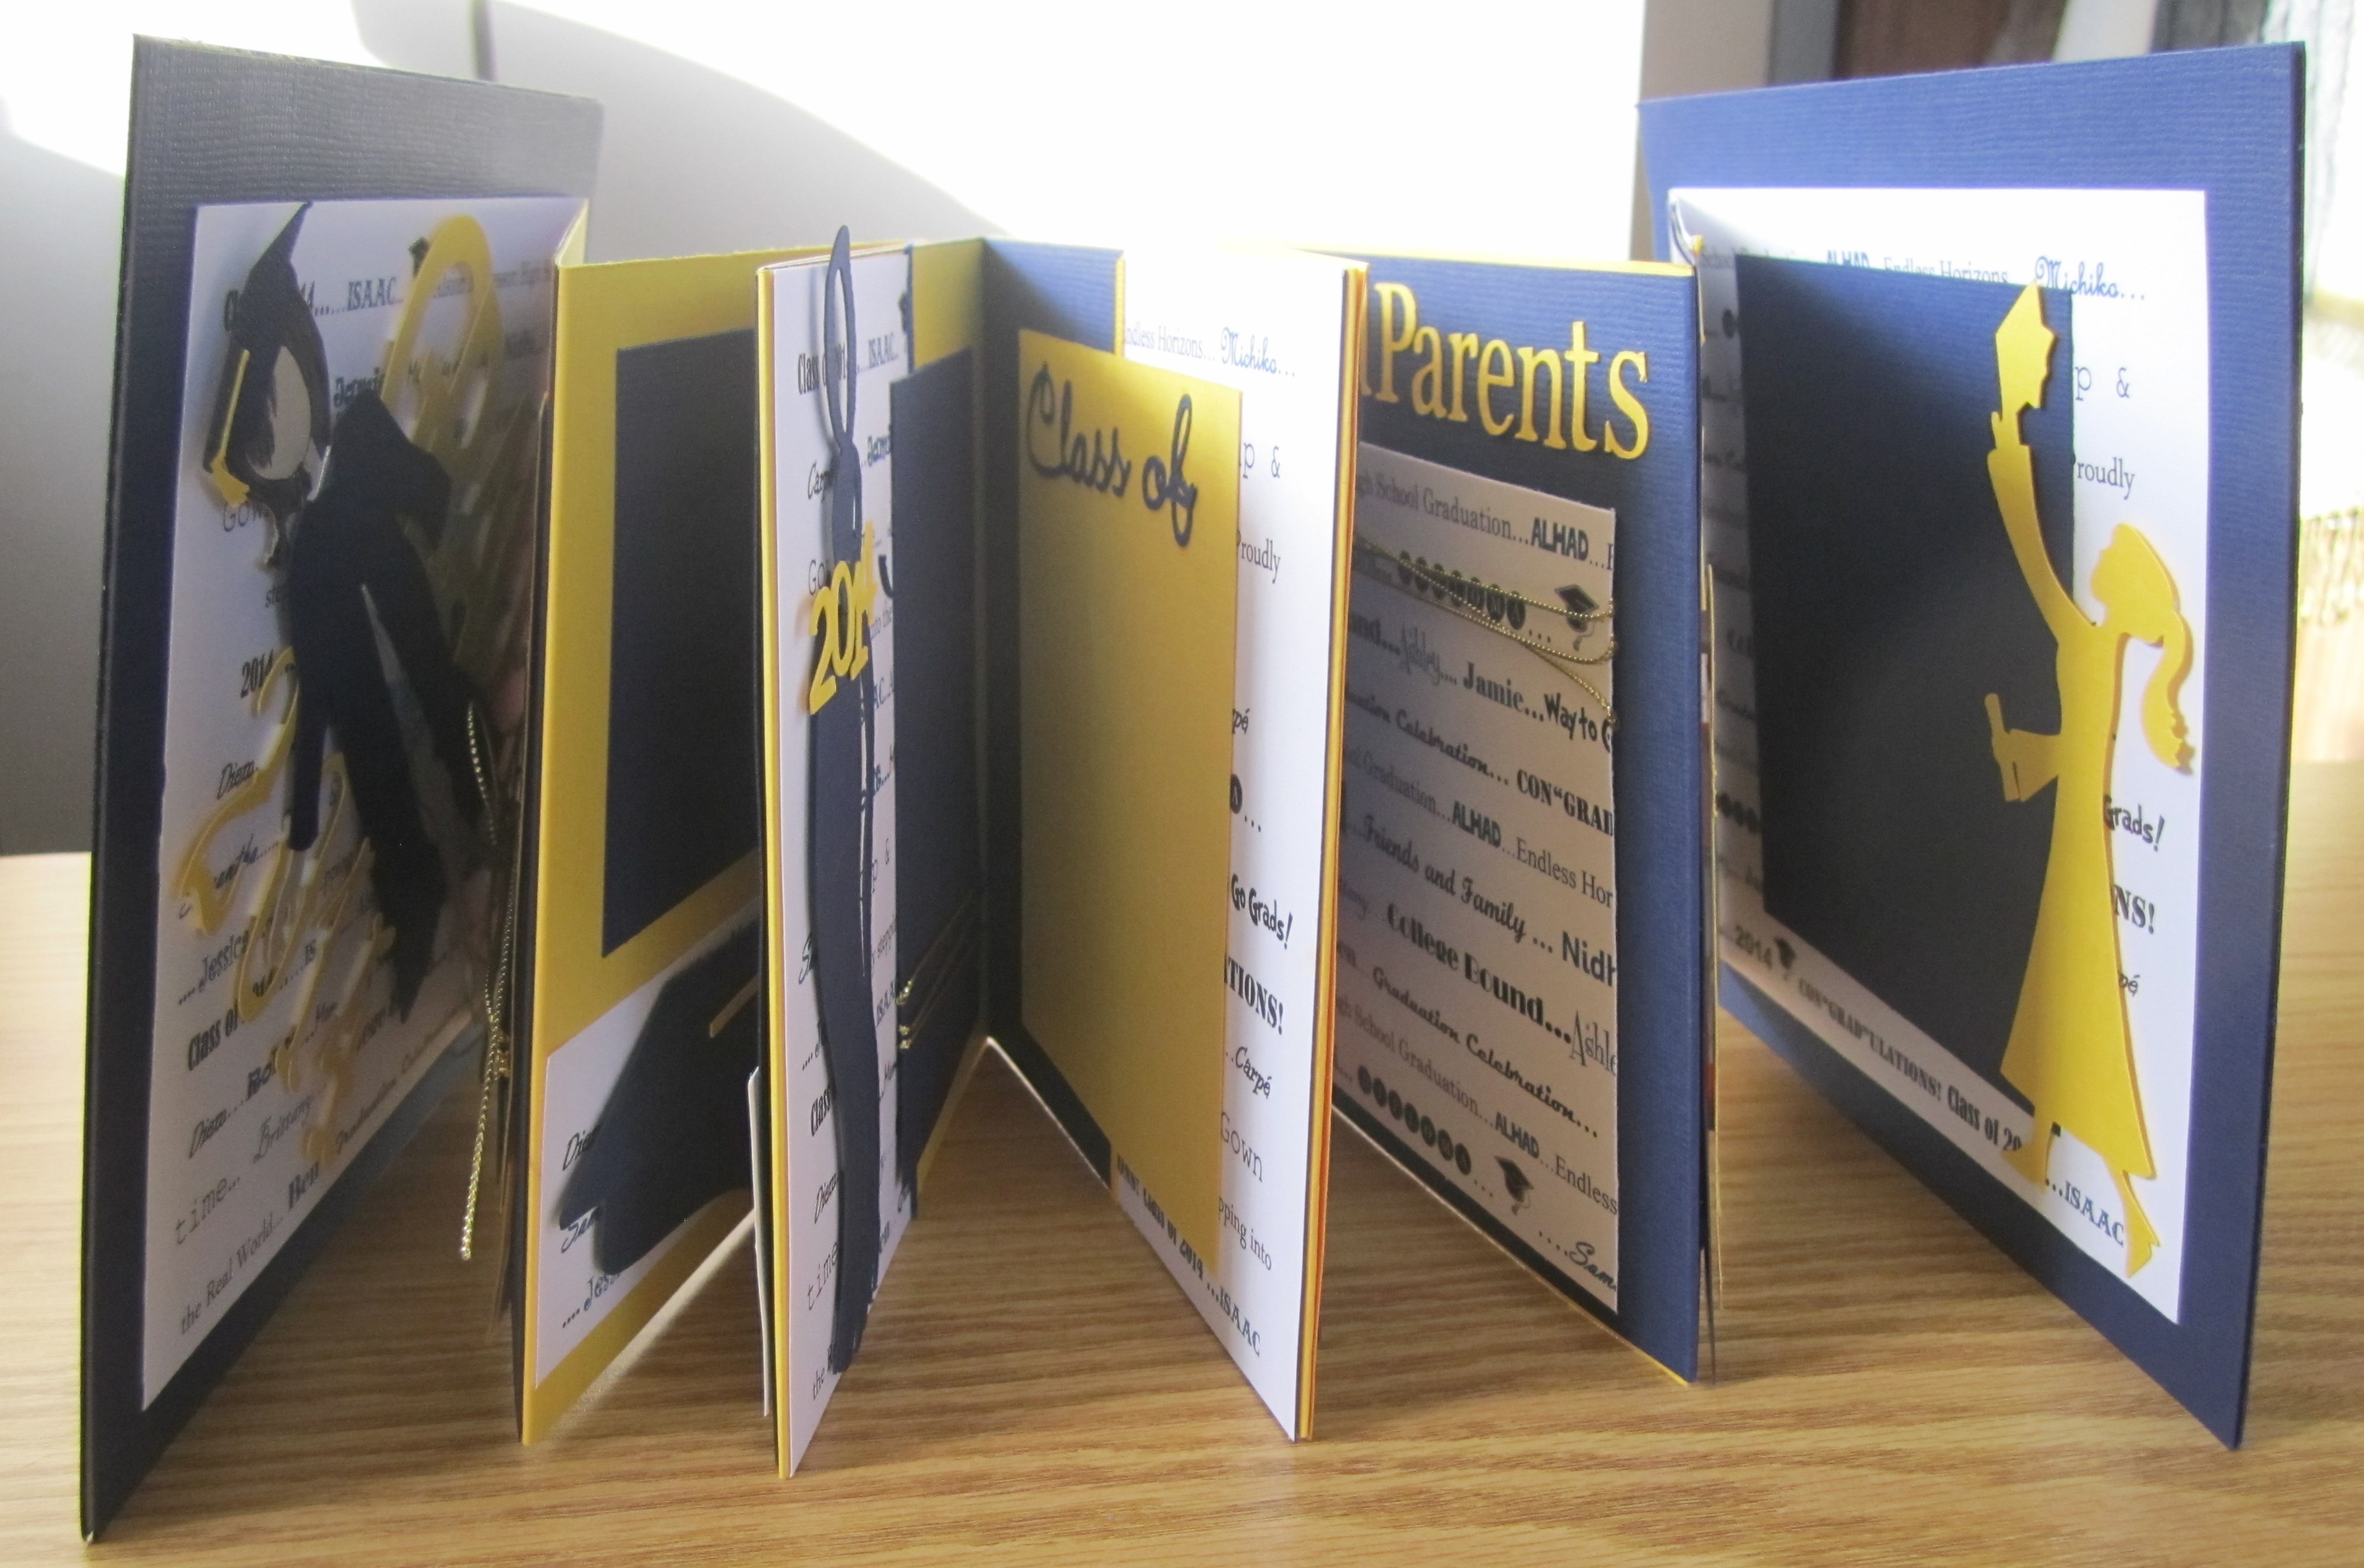
Completed Album


Is the gown (for the Julie Nutting doll) something you can purchase on the SIL store.. or is this something you created yourself? Great job. I love it!
Thanks! The gown is from other paper doll clothing in the SIL online store. I just resized it to fit and cut off what was not needed. I like making different clothes for the Nutting dolls with the Silouette. Check out the Fall and Halloween paper doll projects.